LEARNING TO LAUGH AT YOURSELF; Part 1 of the Knitography Series

Knitography.jpg

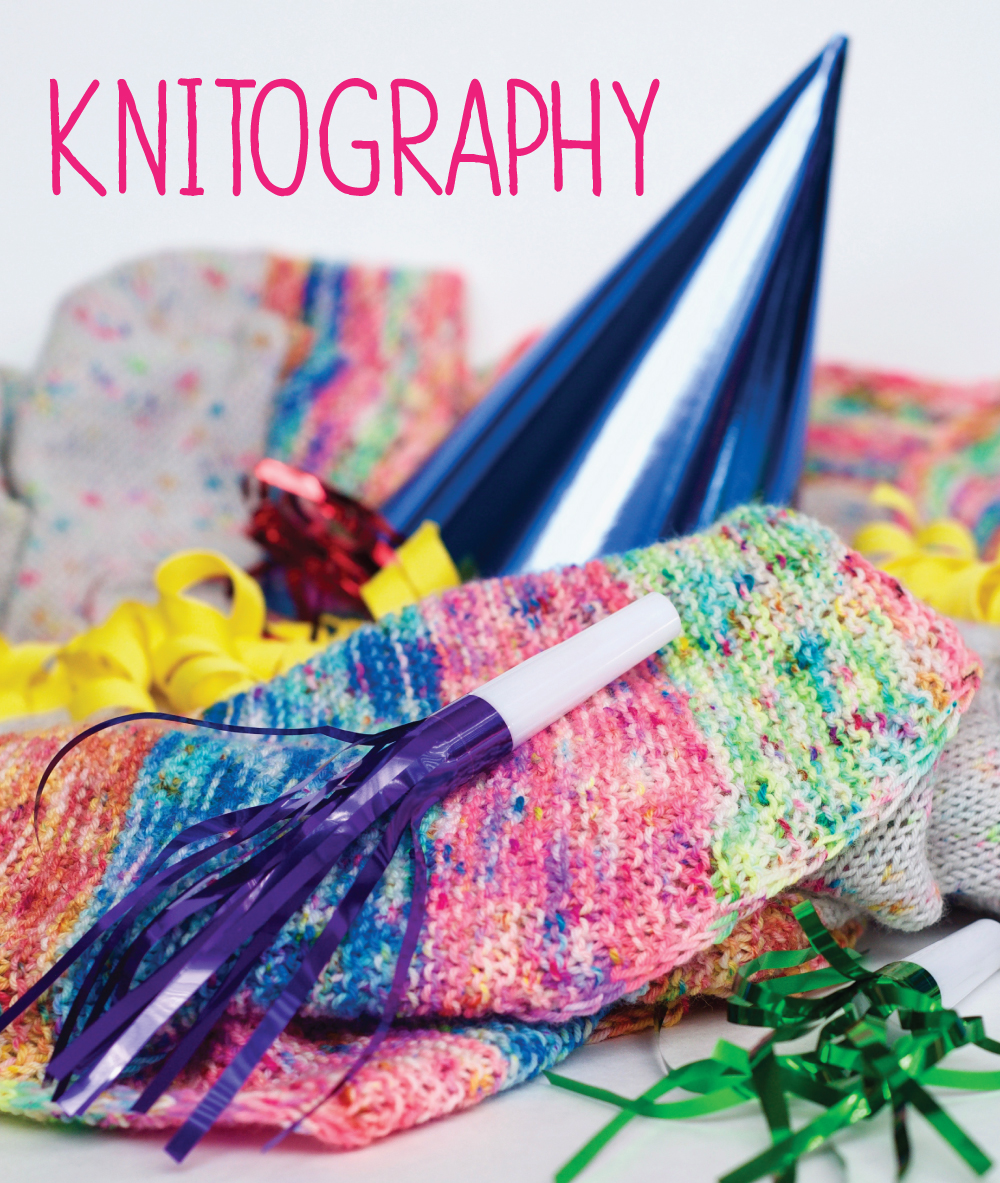
This is Part 1 of my Knitography Series. In 2017, I made a resolution to take better photos of my designs, and together, my husband and I got serious about photographing my designs. Right up front, you should know that I am NOT a professional photographer. Neither is my husband. We are a DIY photography team. I have learned a lot since I made my resolution, and I want to share some of that knowledge with you. The upcoming posts will have more detailed information about the equipment and software I use, the poses and angles that flatter your knits, how I style my knitwear, and more. For this post, I'm keeping it light. Consider this a happy introduction.

Over the years, I have learned a lot about self-publishing, but the steepest learning curve has certainly been the photography. I am NOT naturally comfortable in front of a camera. Just the opposite. On photoshoot days, I am wound up so tight that I snap at everyone. (Sorry, family, Mommy has to look good today, and since her natural state is 'frizzy-headed stretchy pants,' Mommy is stressed.)

Here's the thing...to take better photos, you need to do a lot more than just learn how to use your camera. You have to learn to LIKE YOURSELF IN FRONT OF THE CAMERA. I can't afford to hire models for my photoshoots; I'm a budget-concious-lady (okay, I'm cheap). Plus, I think it is useful to be the face of your own brand (more on this in an upcoming post). Overcoming my photoshoot dread has been the greatest improvement to my brand. The best part, I can prove it, AND tell you how I did it.

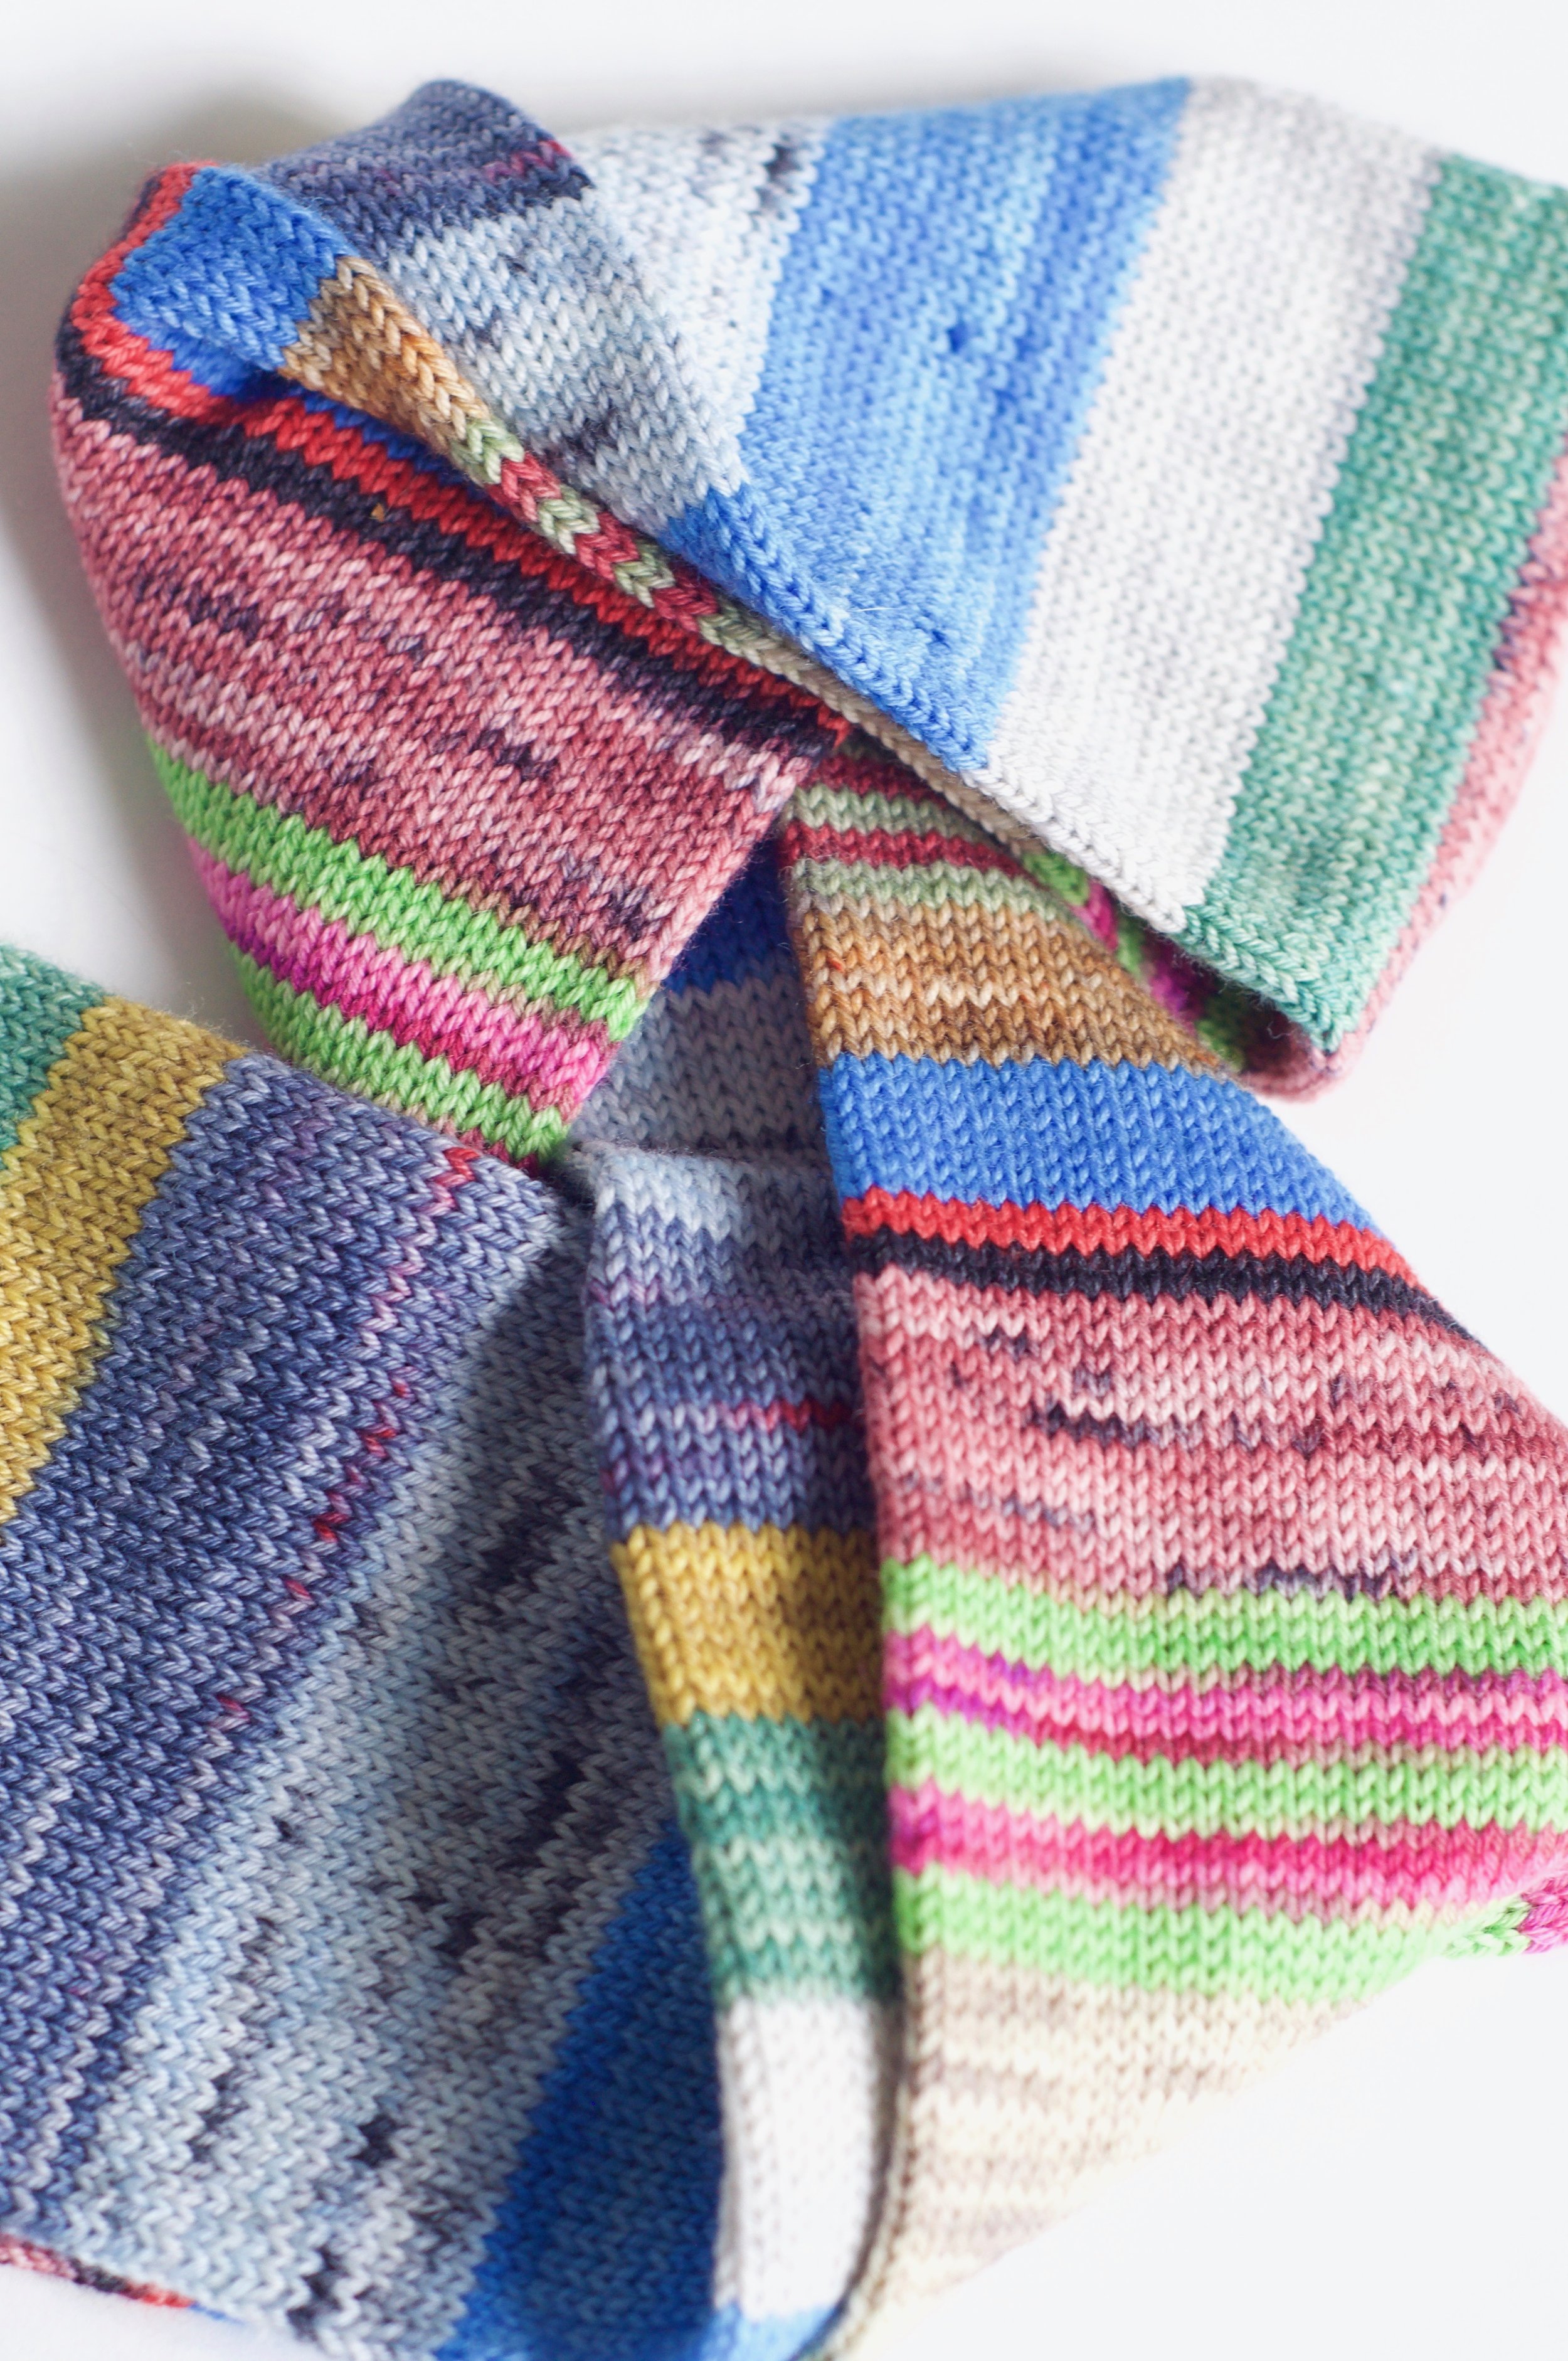
This week, the Urban Ballerina Collection got a MASSIVE update. Before the update, there was new sample knitting, and grading, and reformatting, and tech editing...AND there were photoshoots. Lots and Lots and LOTS of photoshoots. Hundreds of photos, and outfit changes, and makeup, and bobby pins. (I use an average of 25 bobby pins in my photoshoots. It usually takes me 3 days to get them all out of my wacky curly mane.)

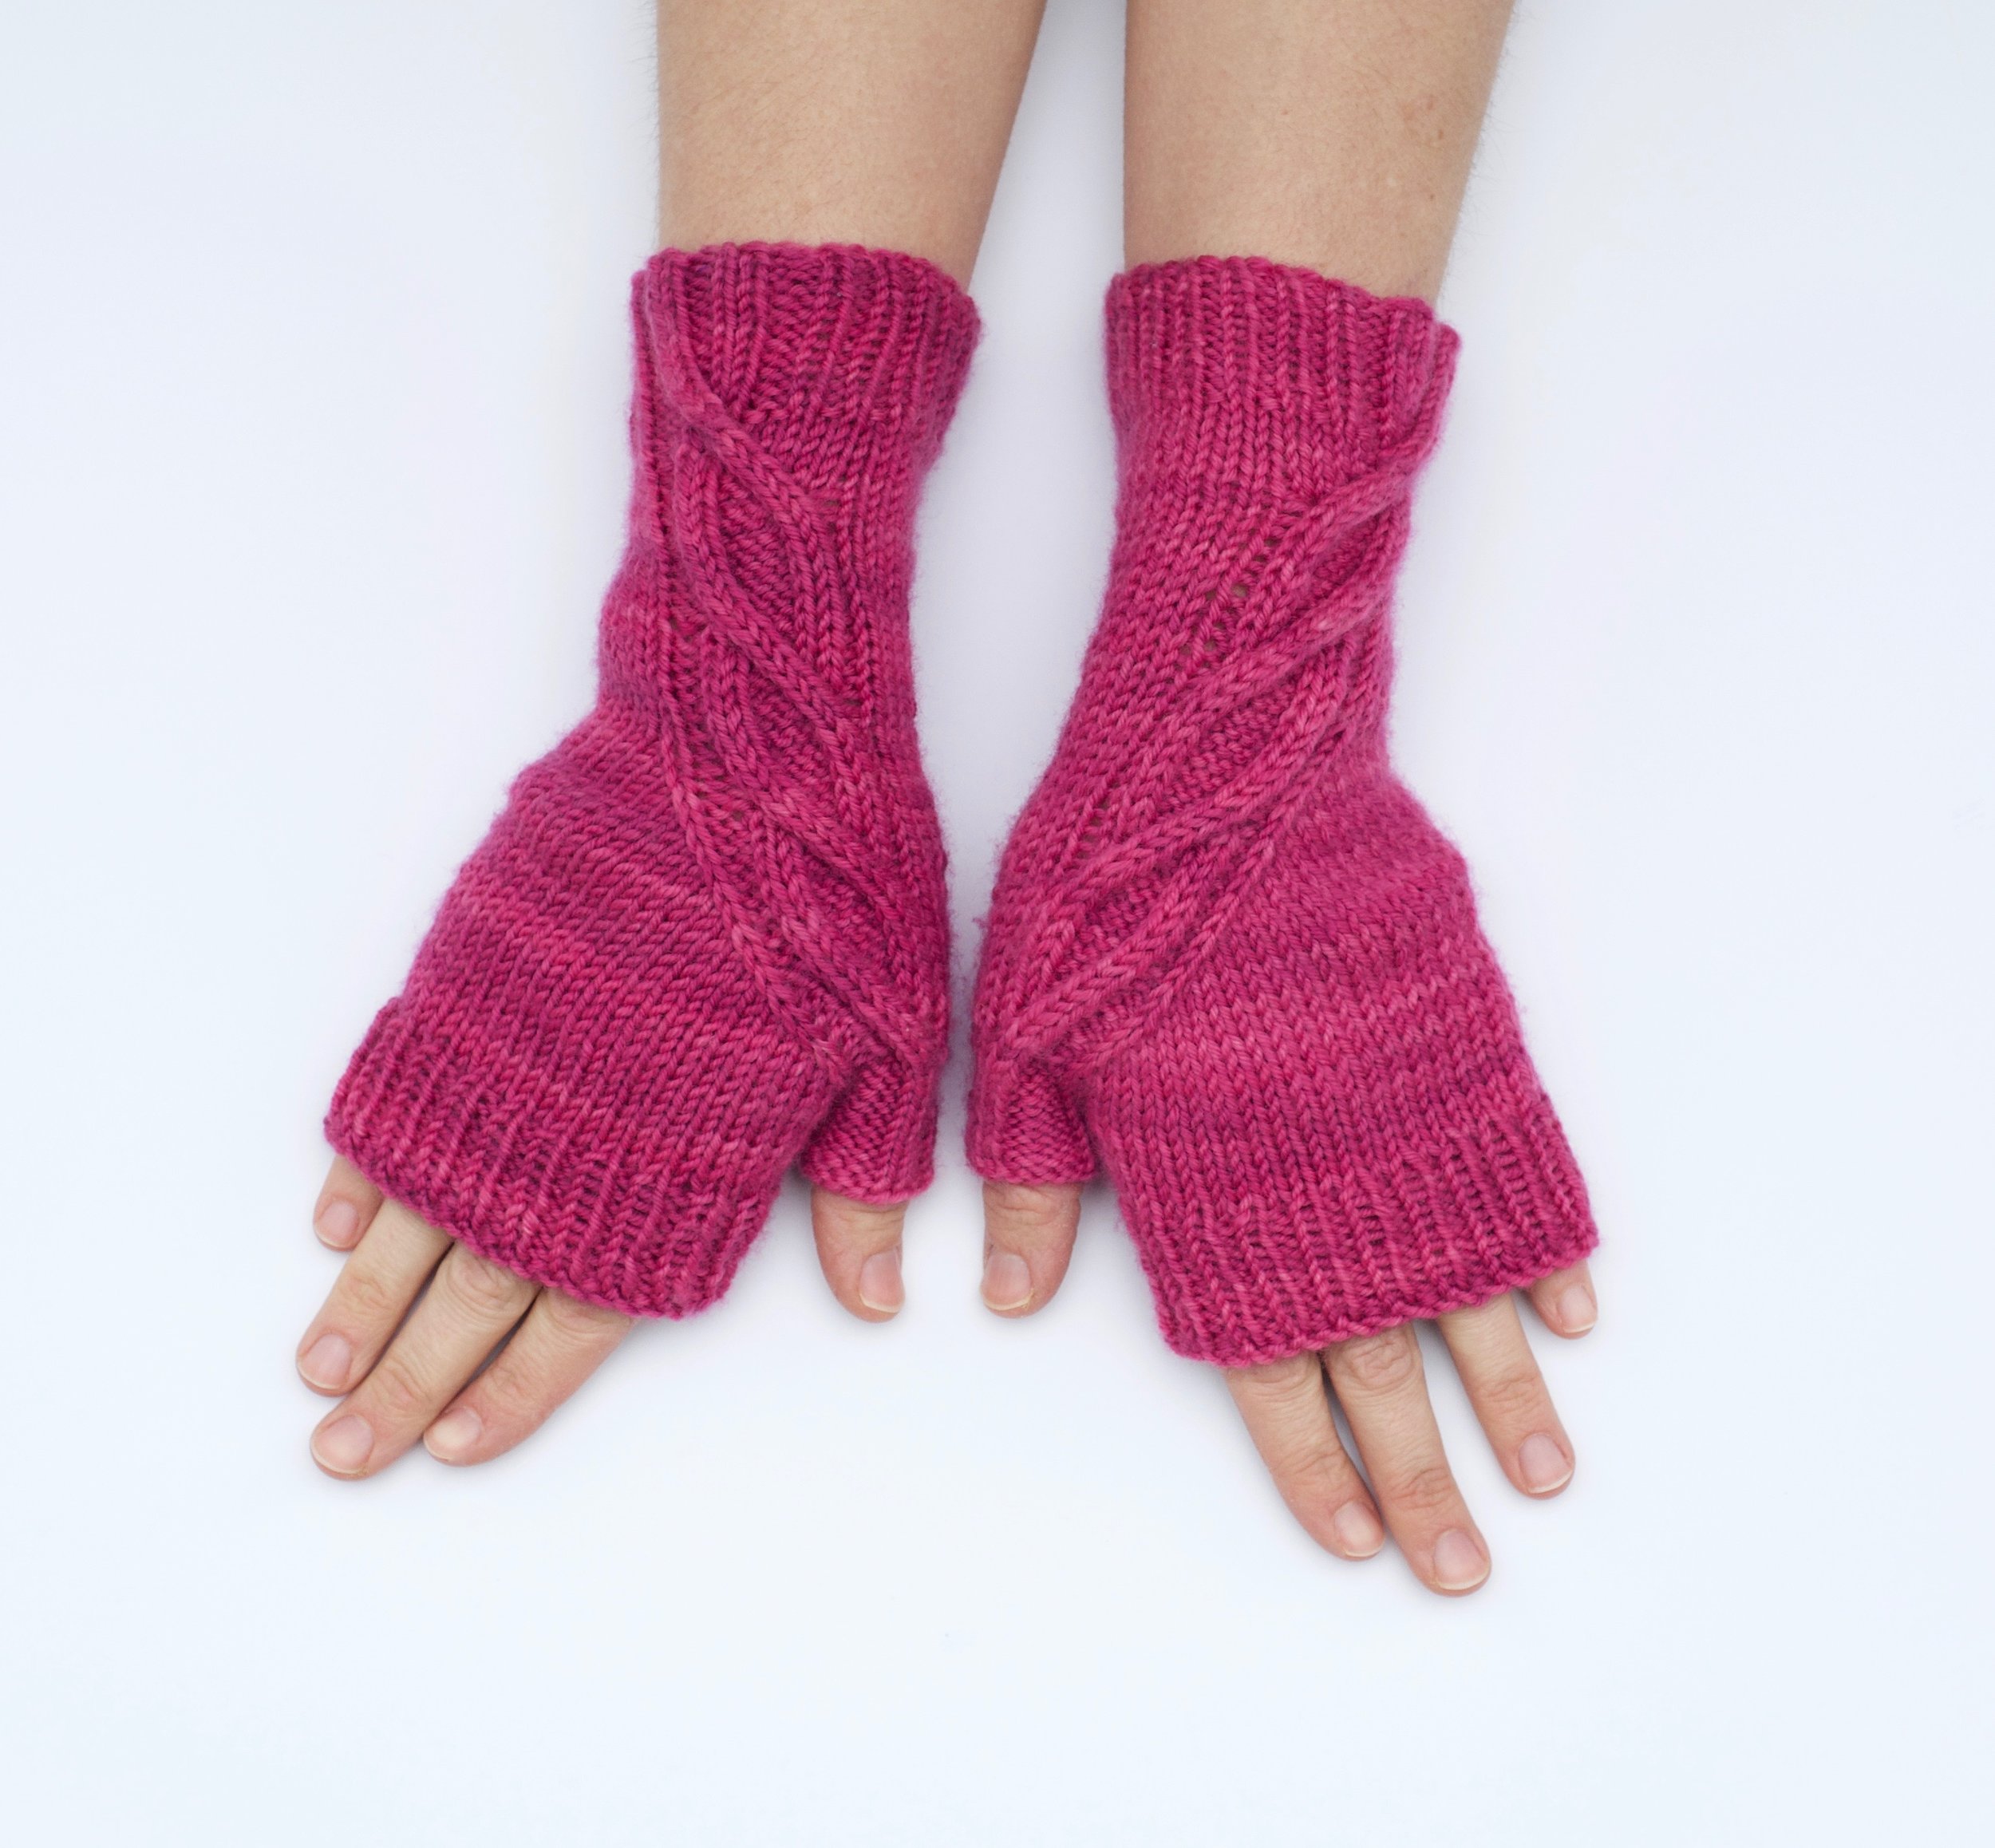
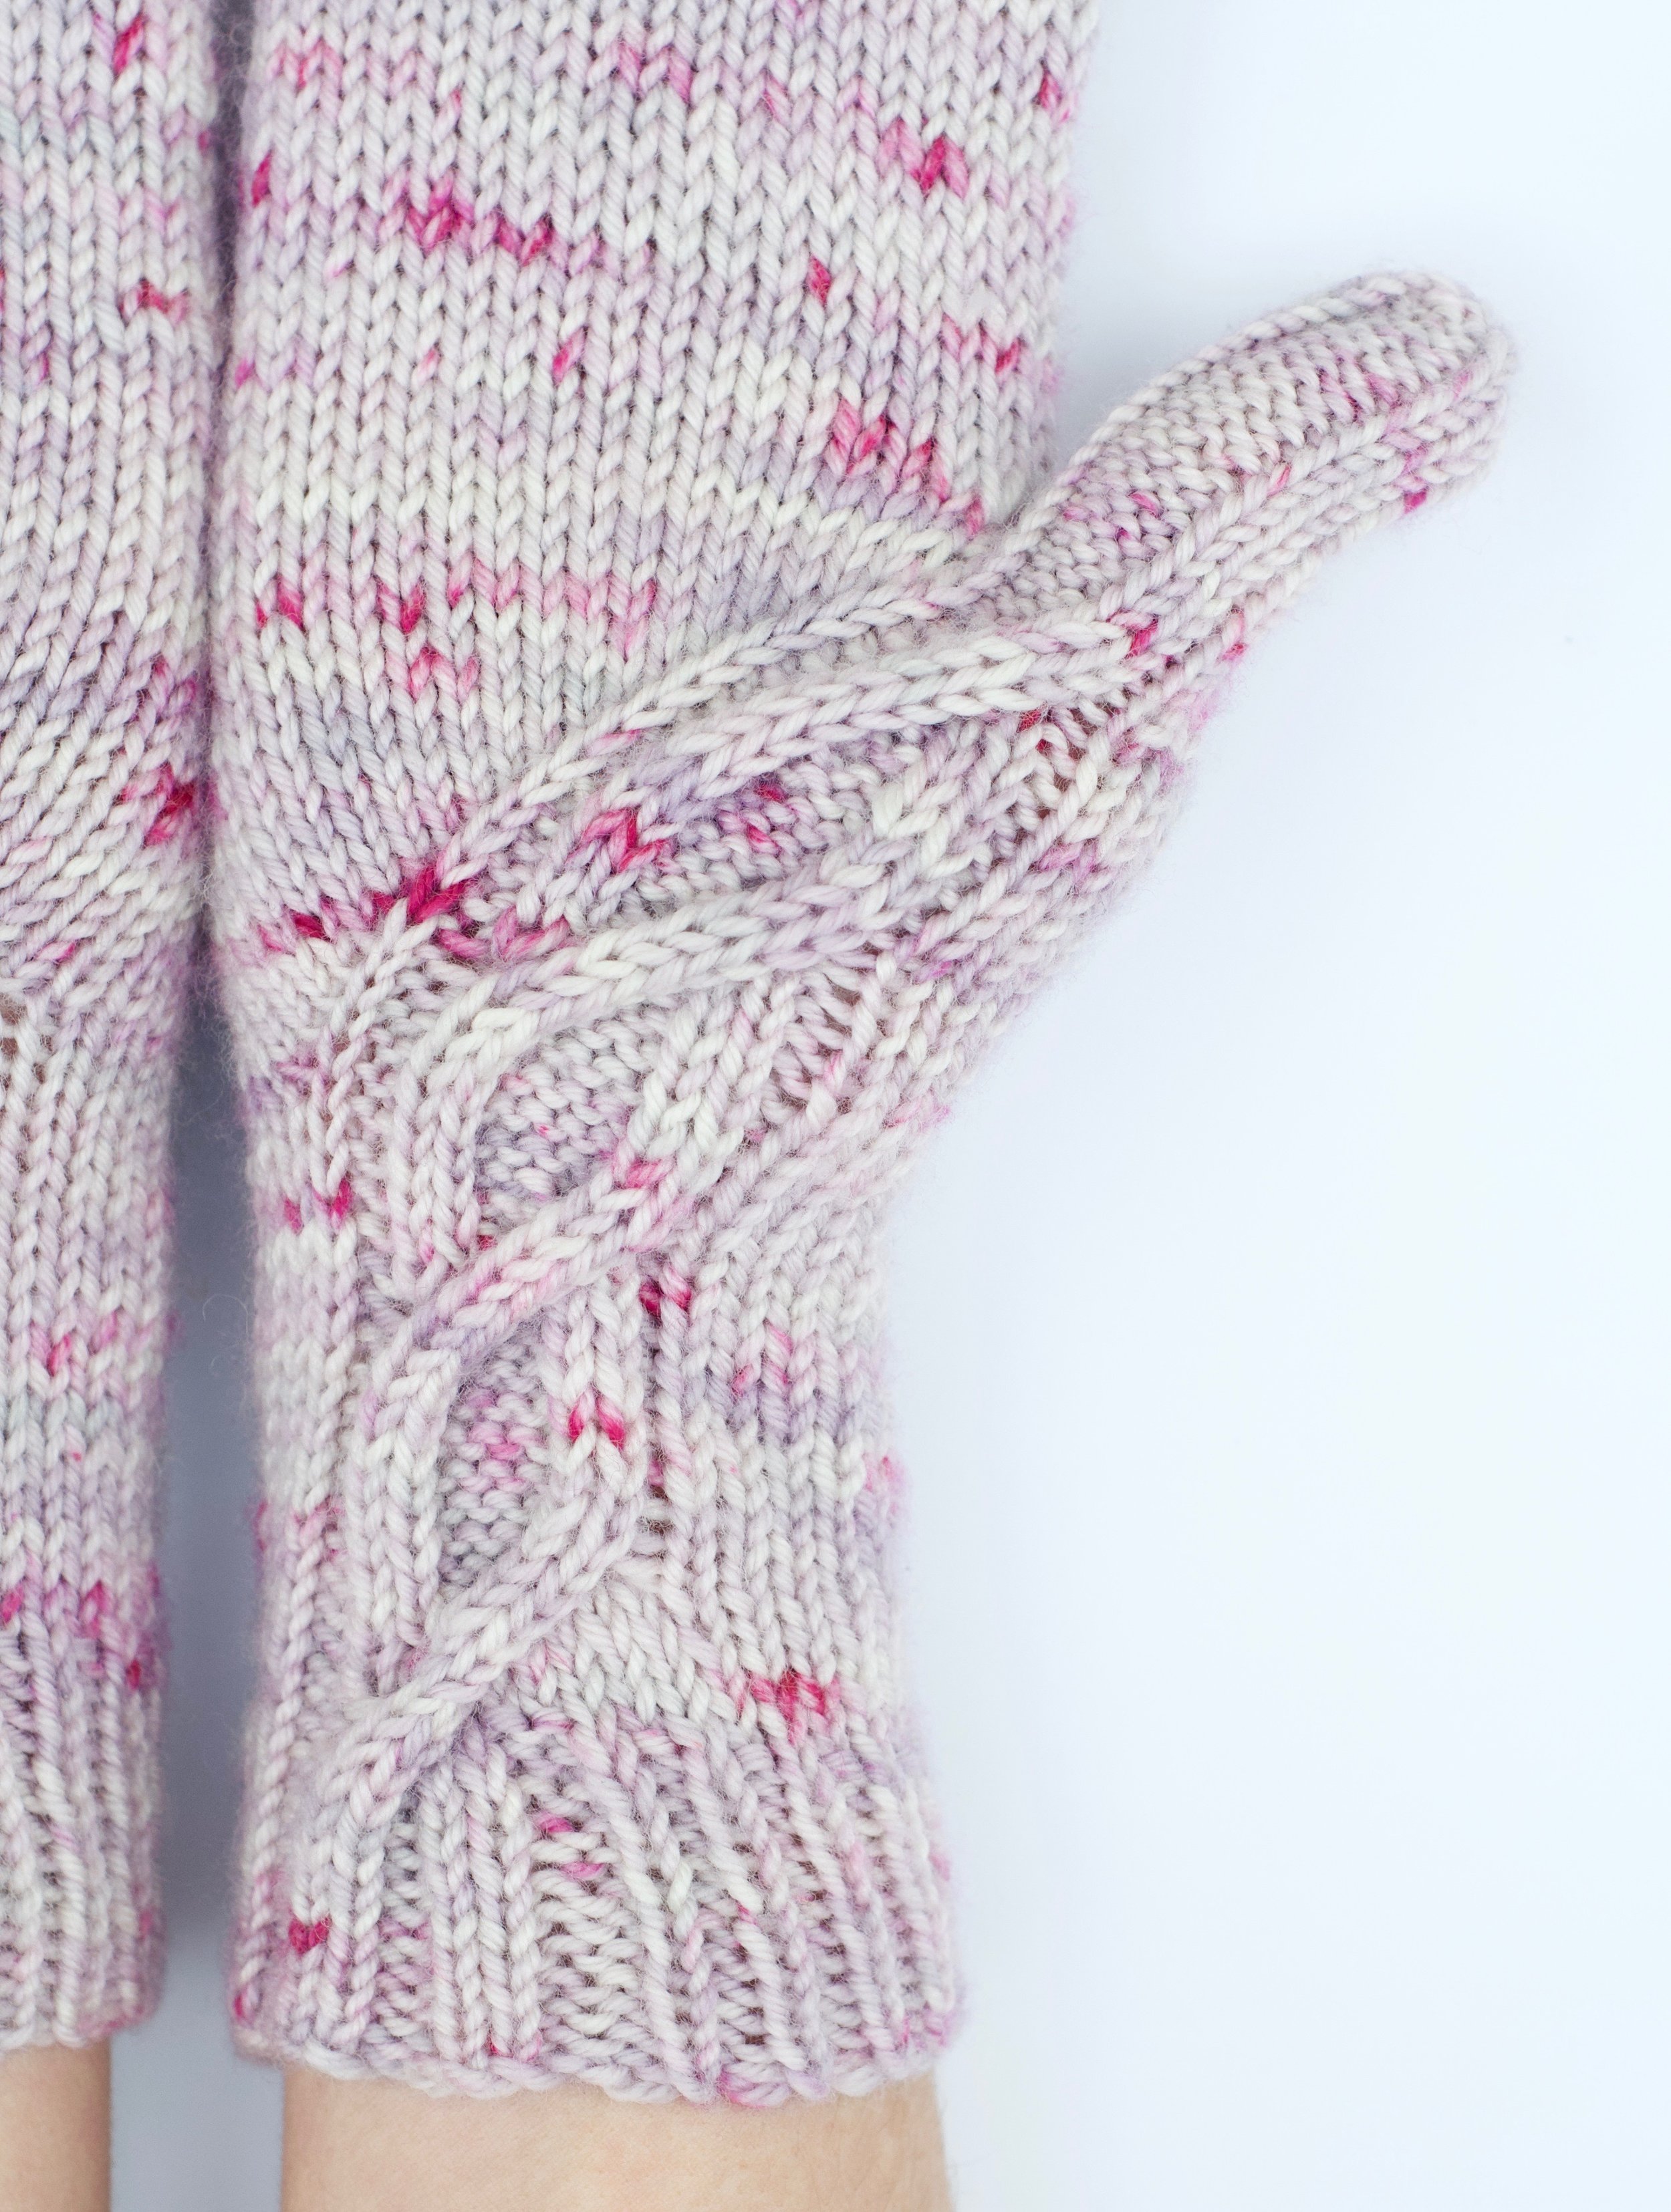
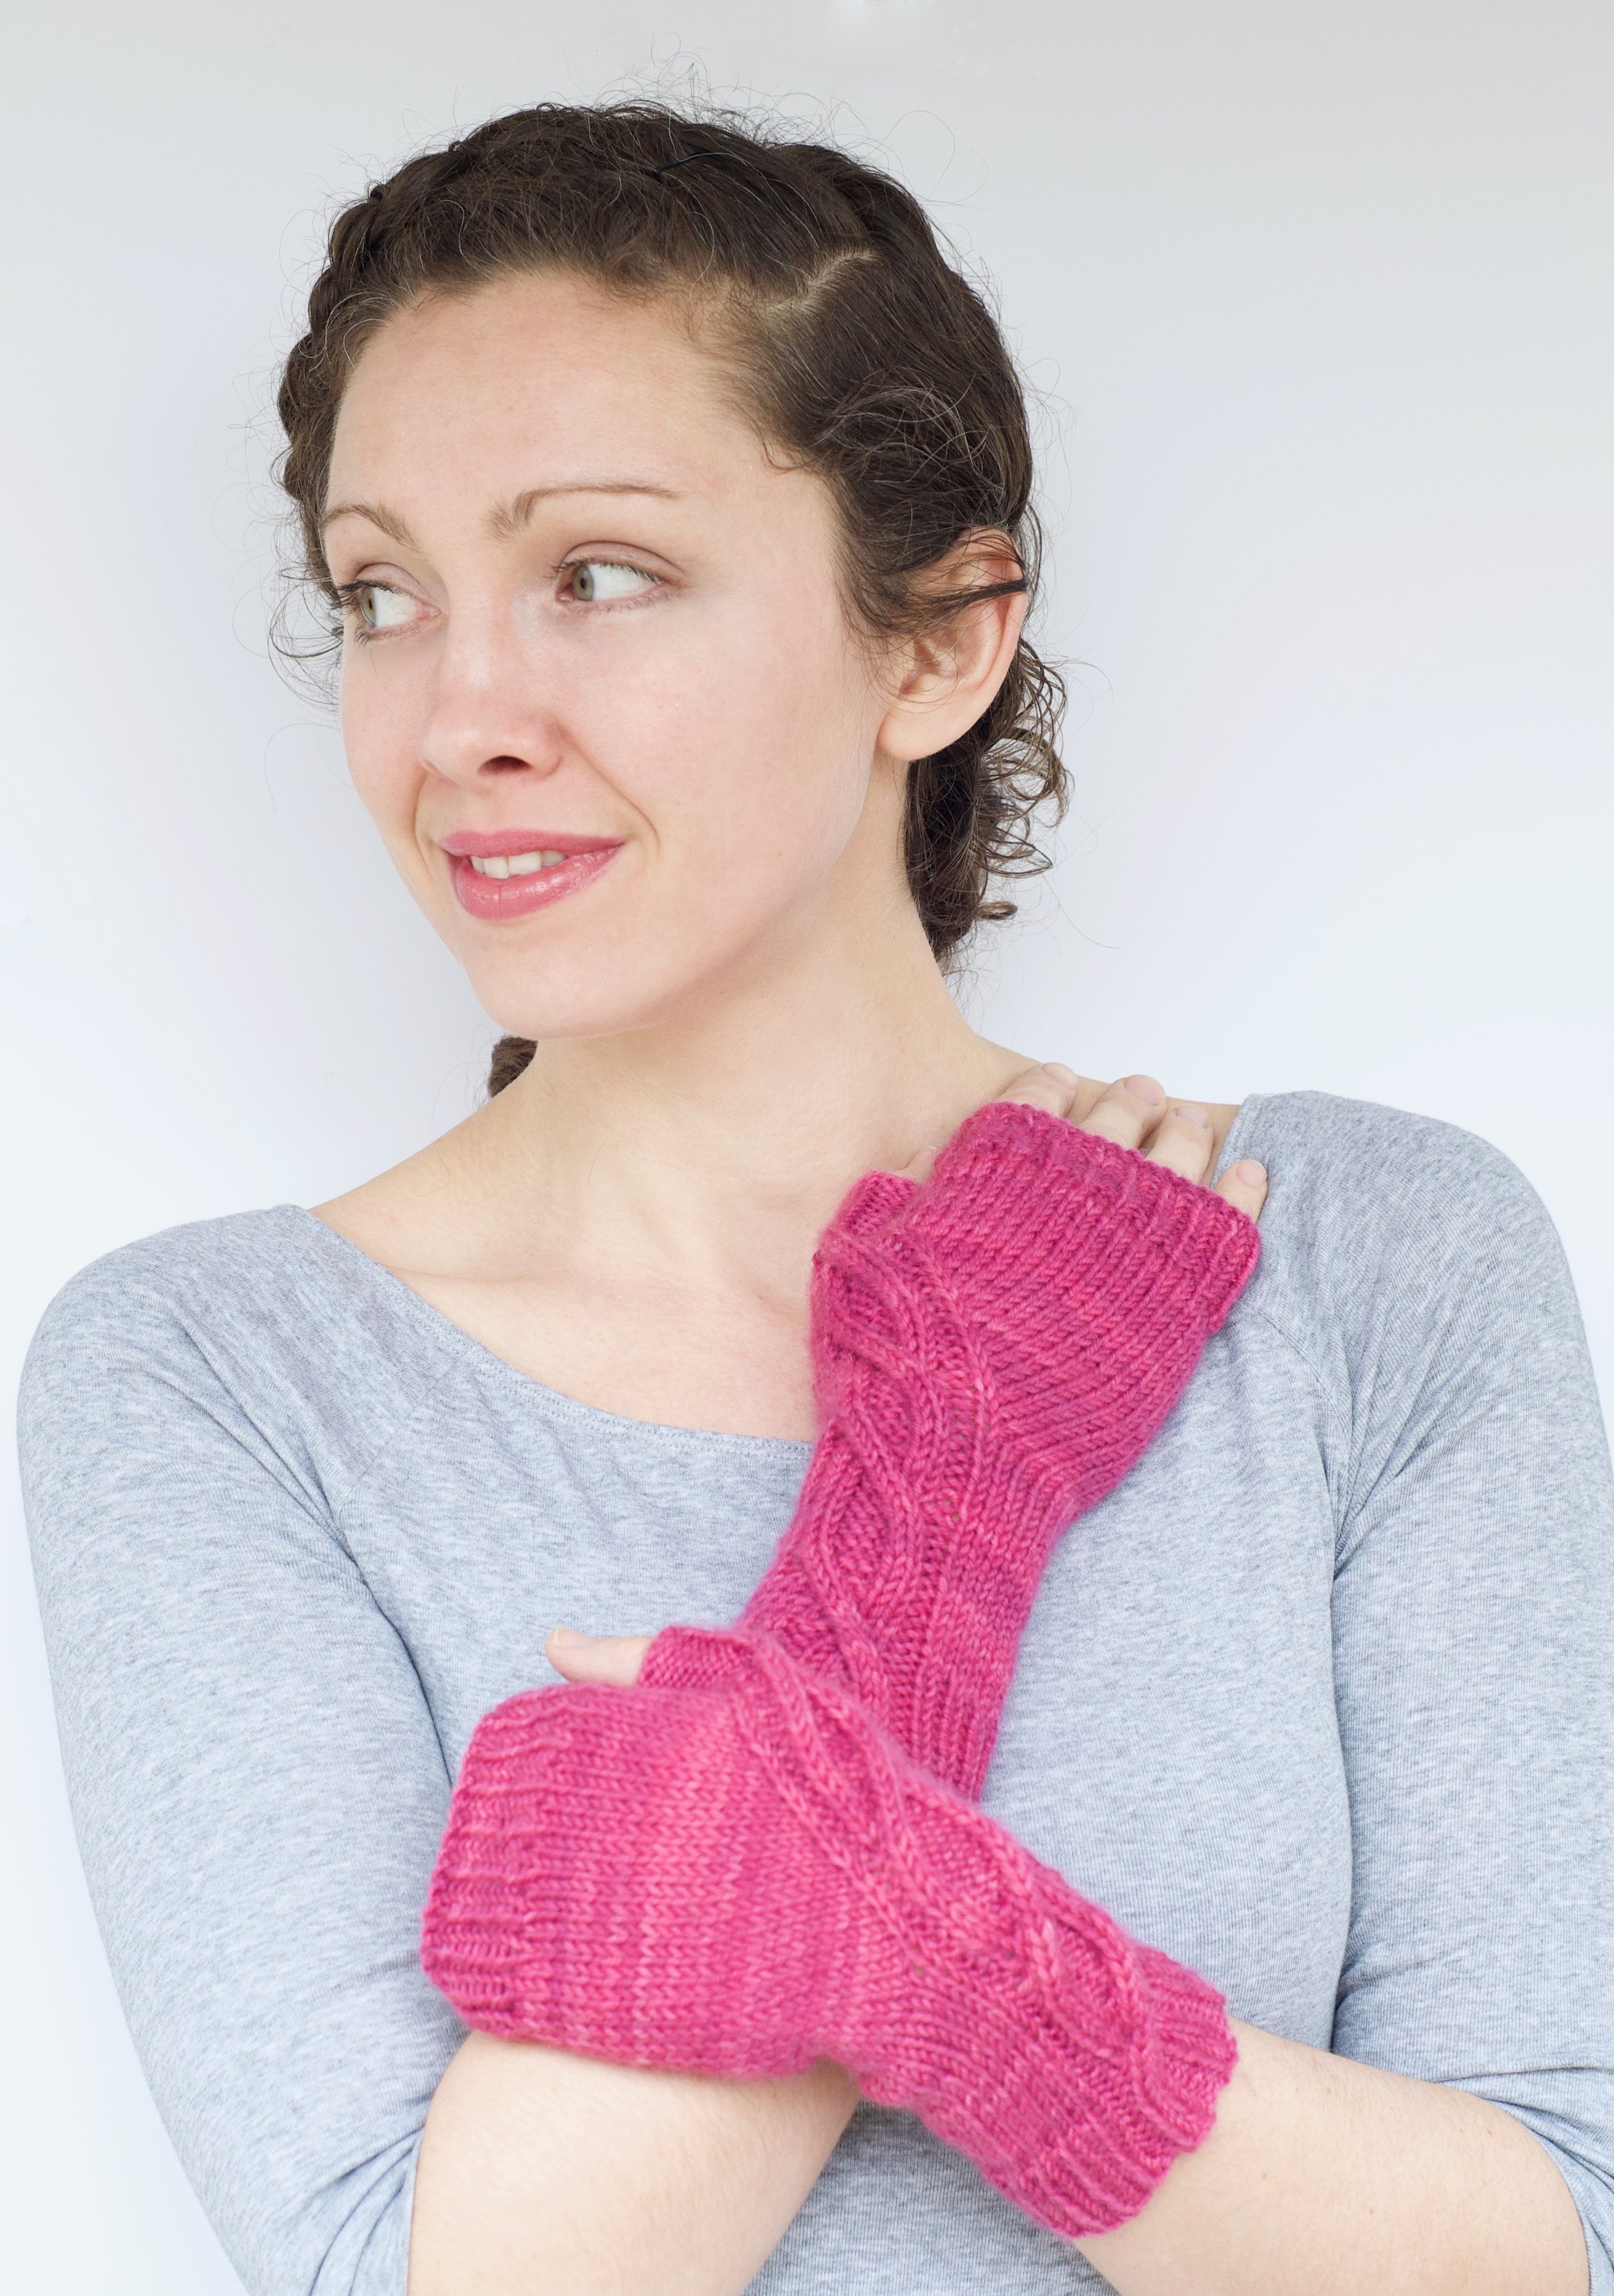
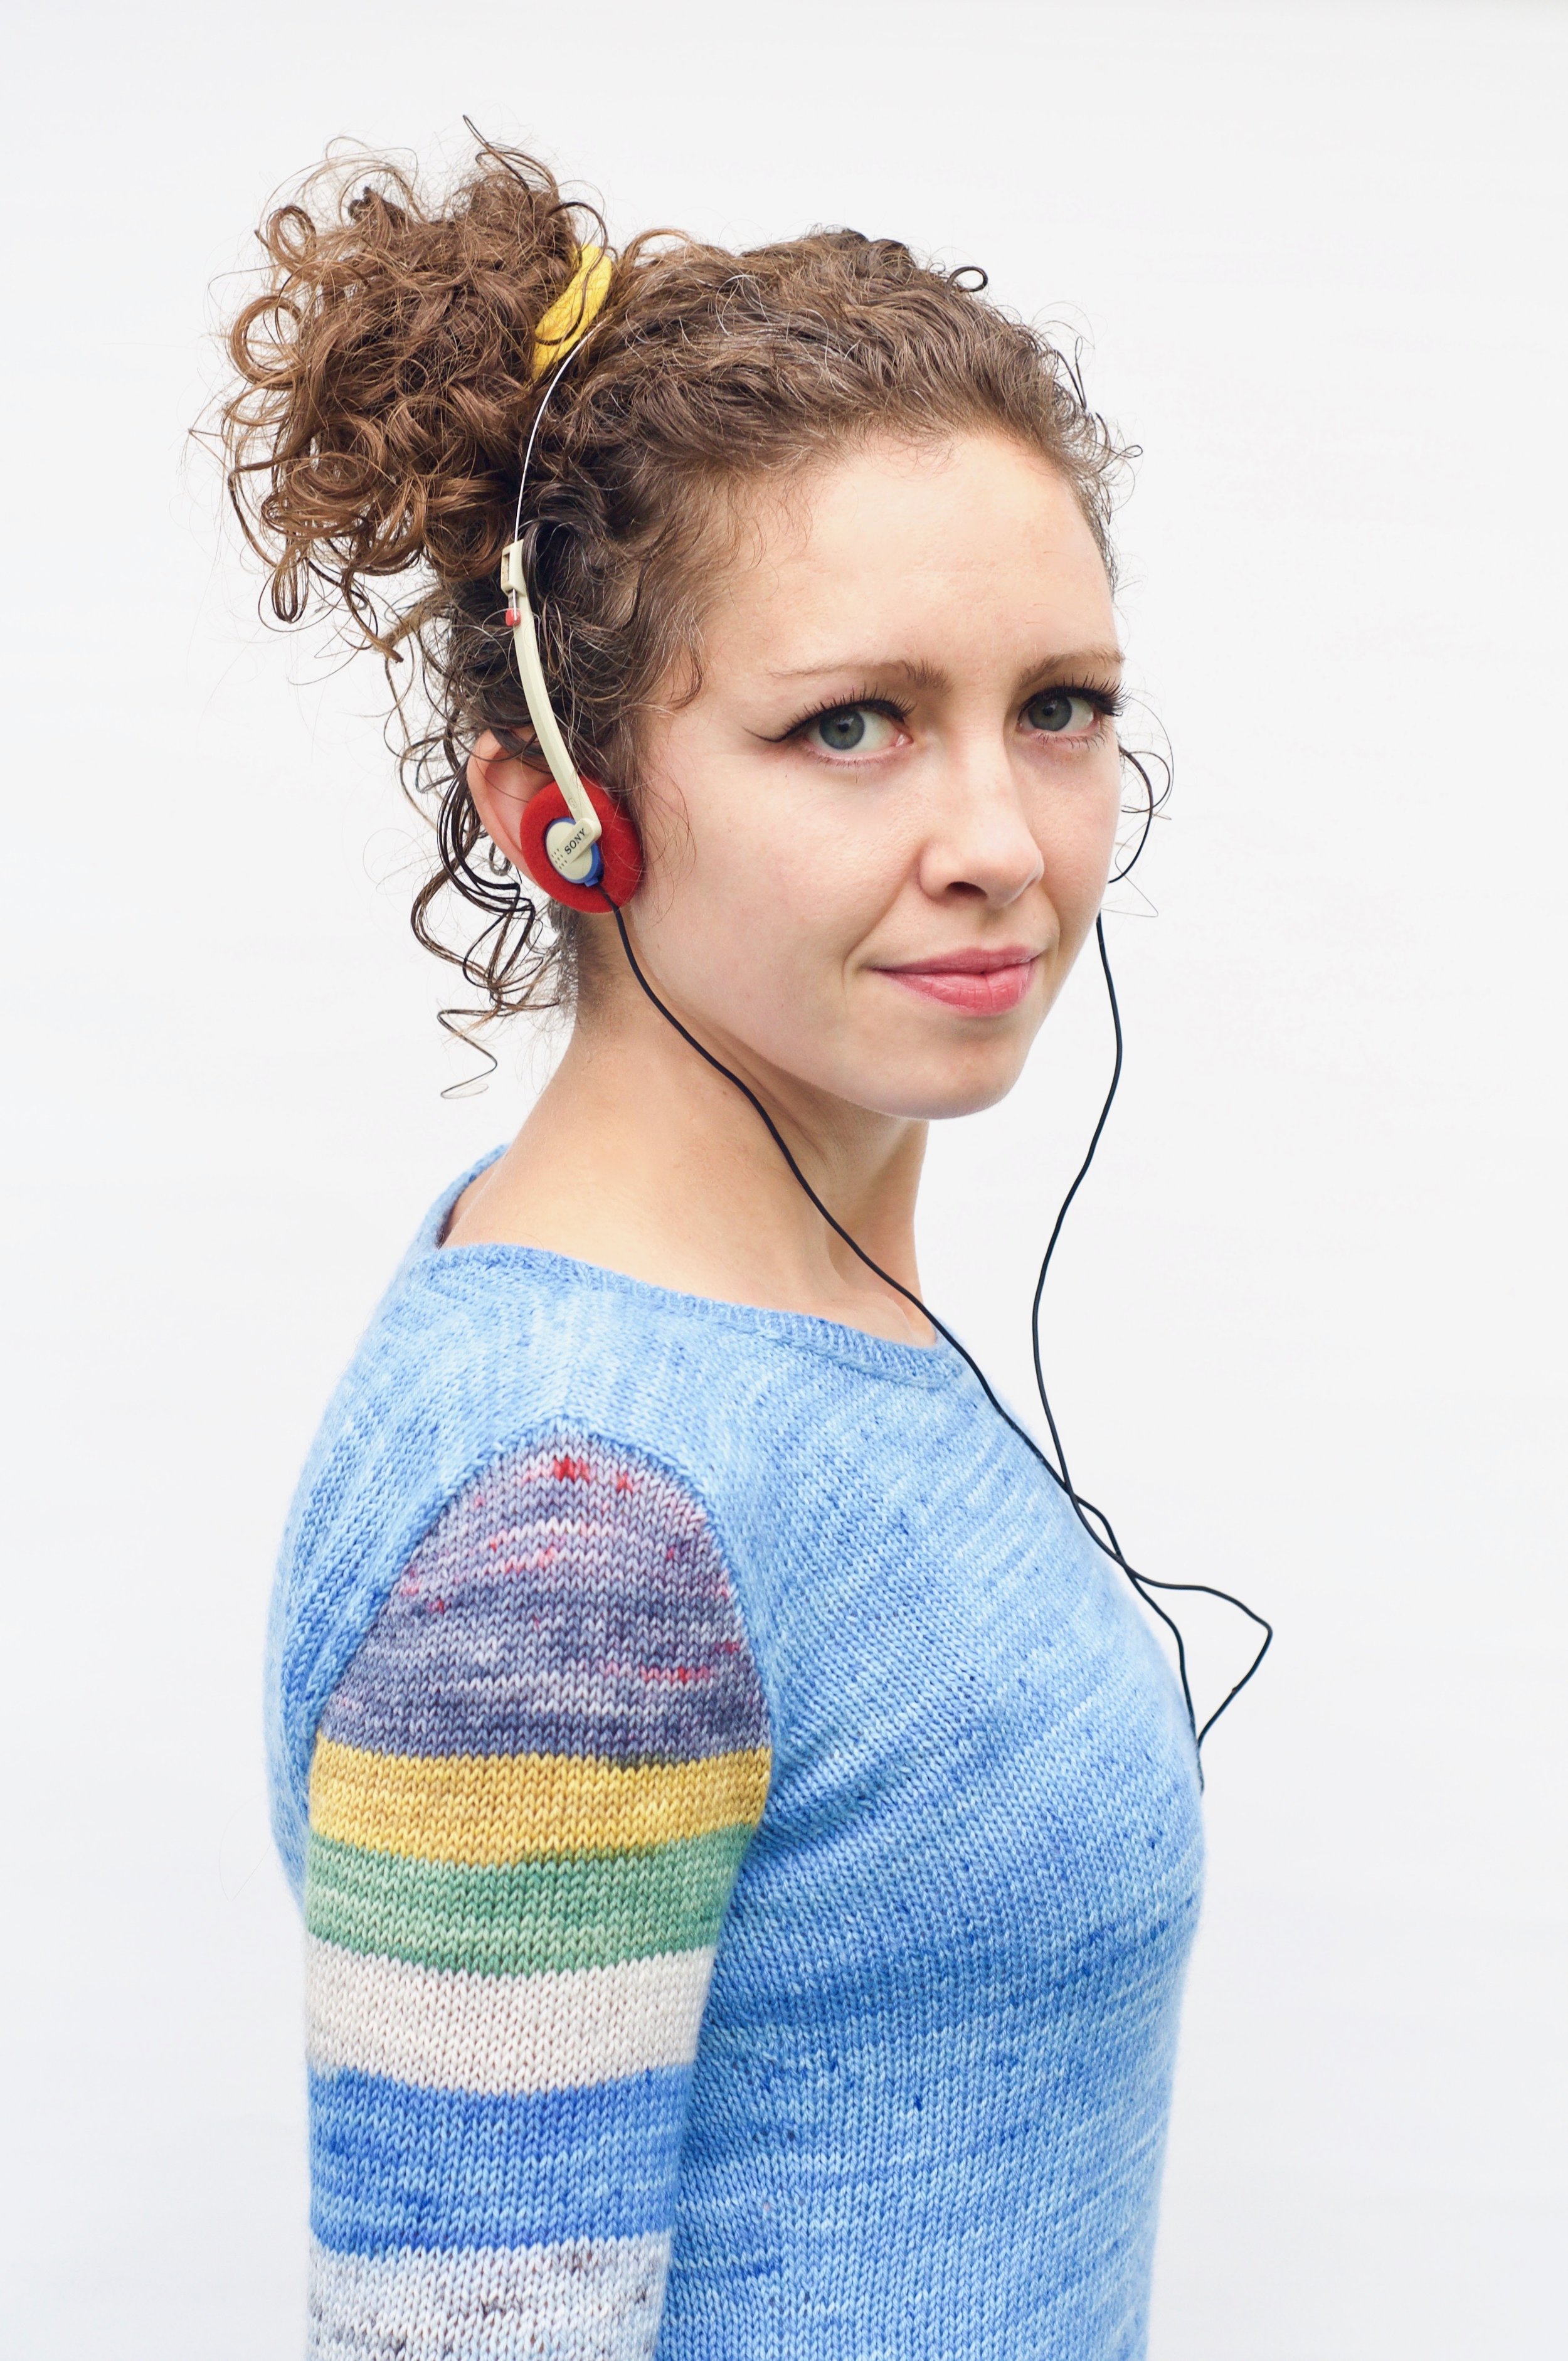
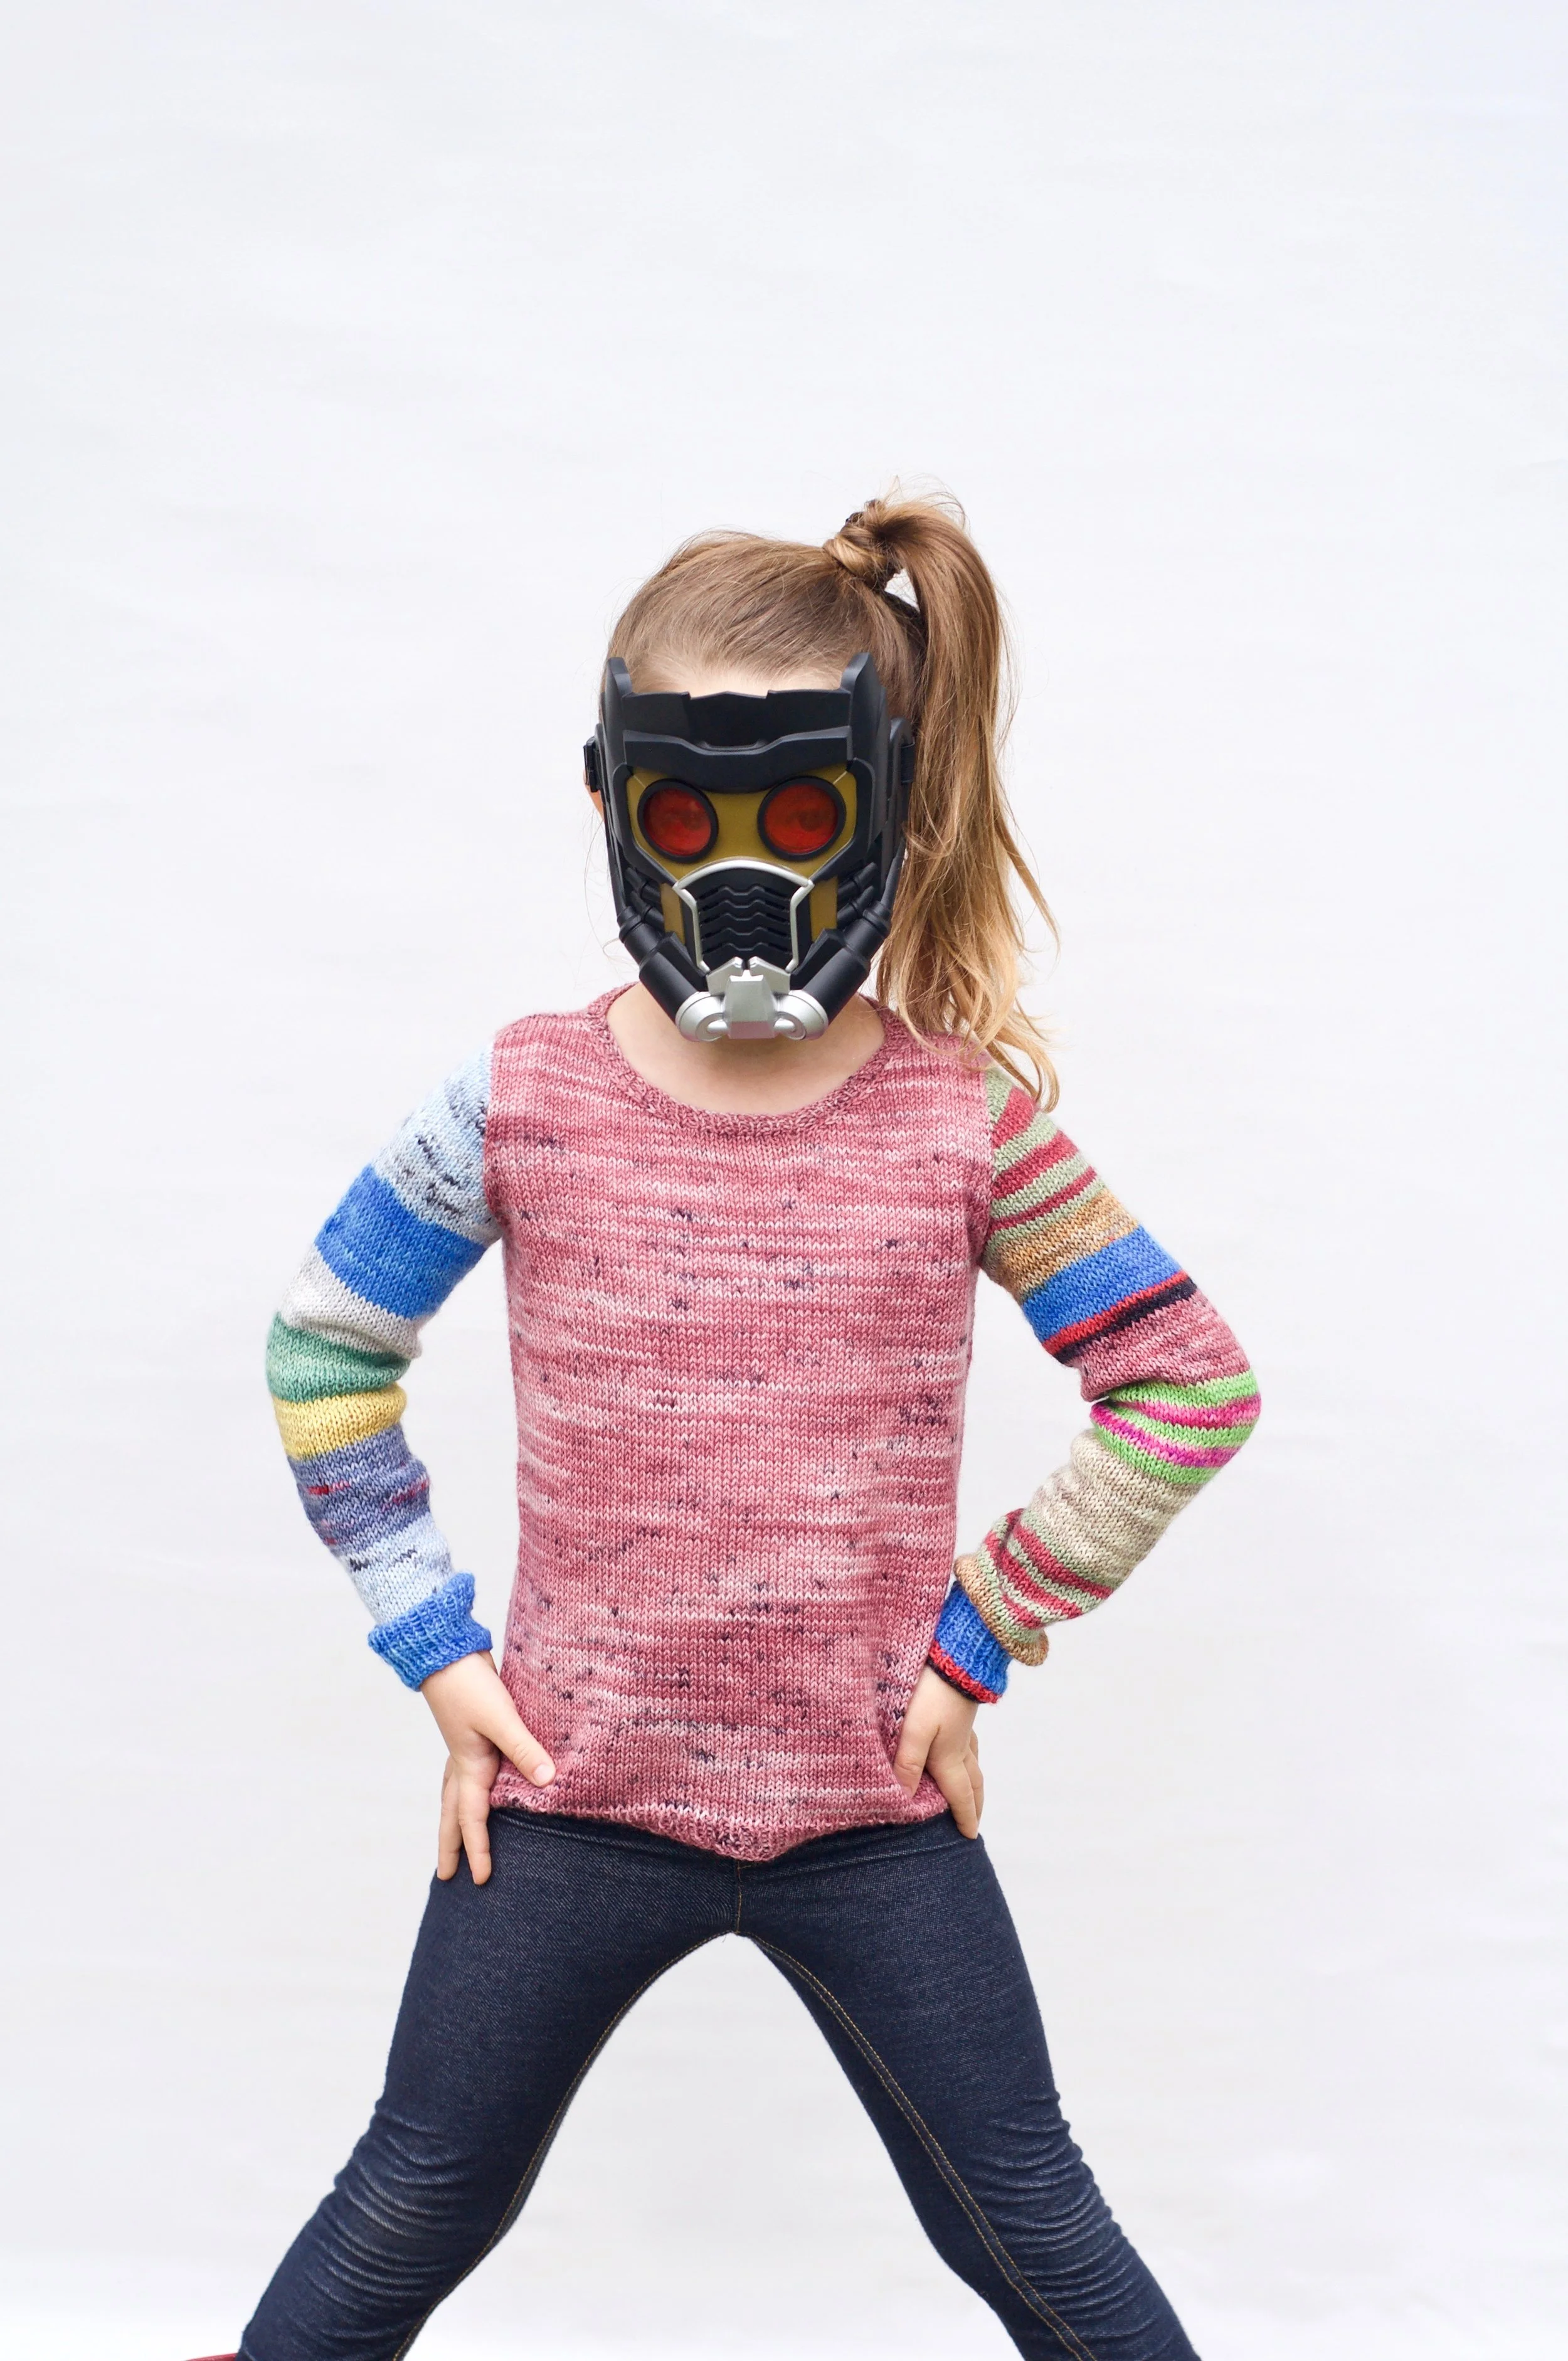
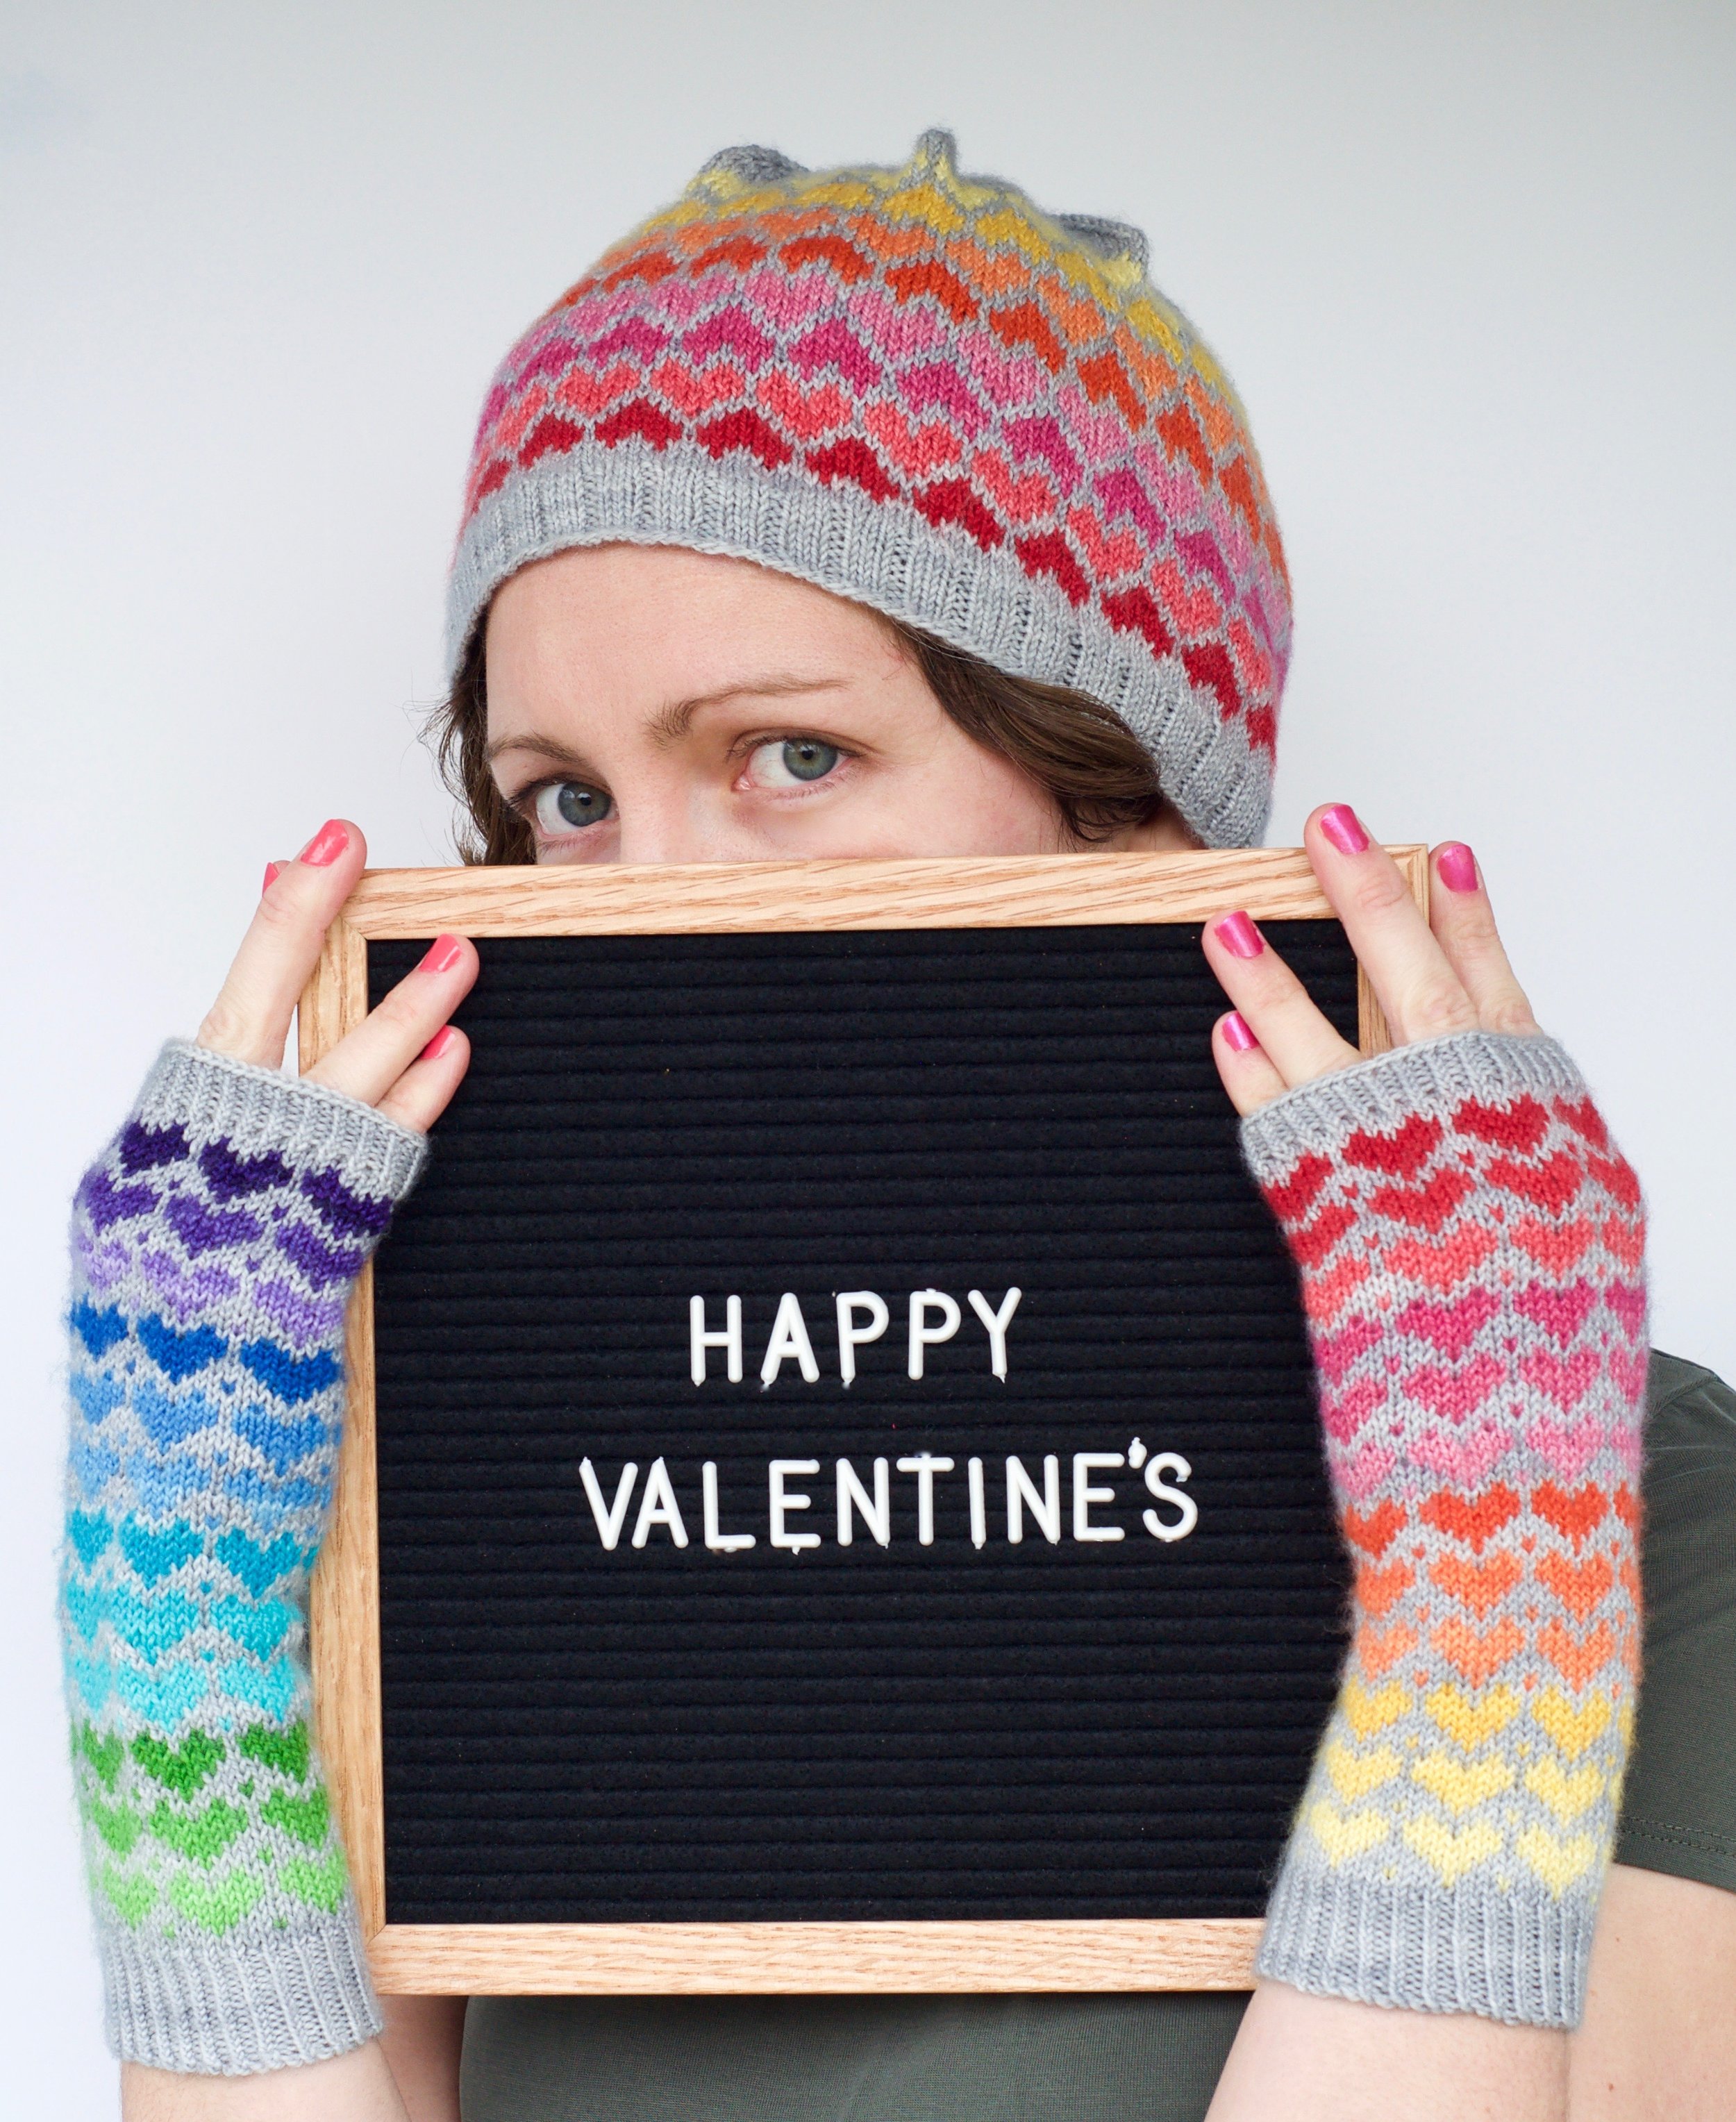
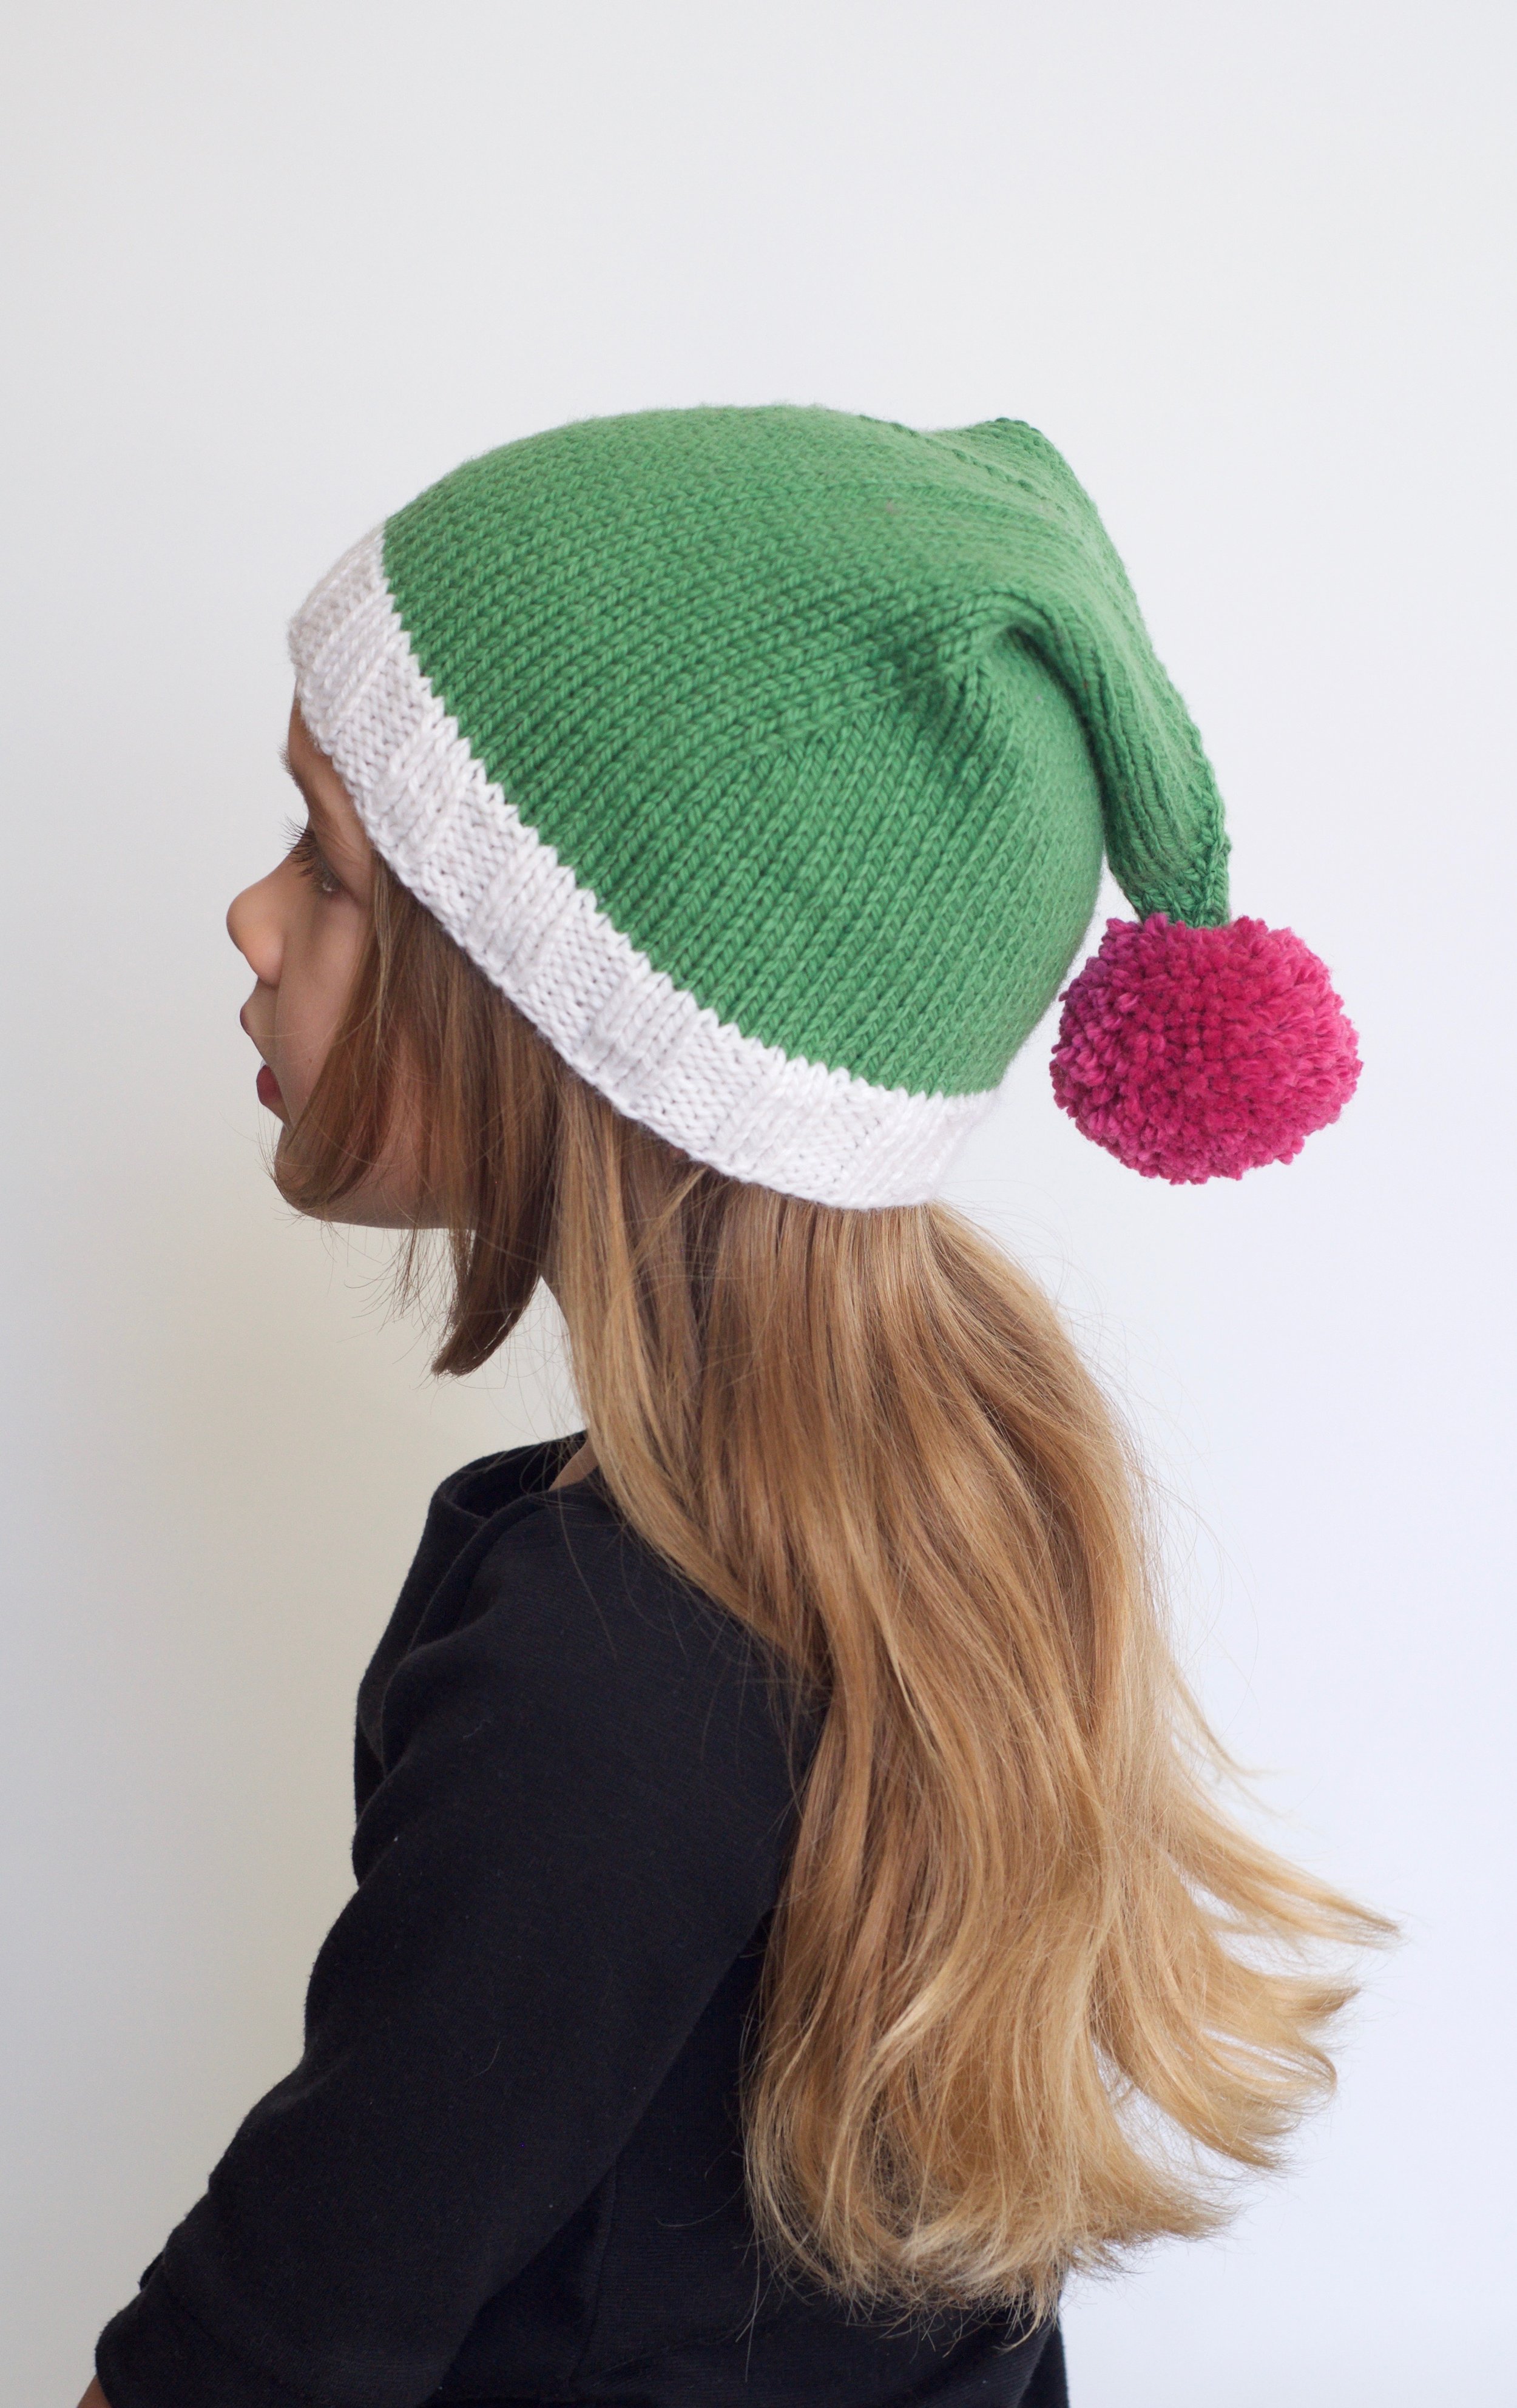
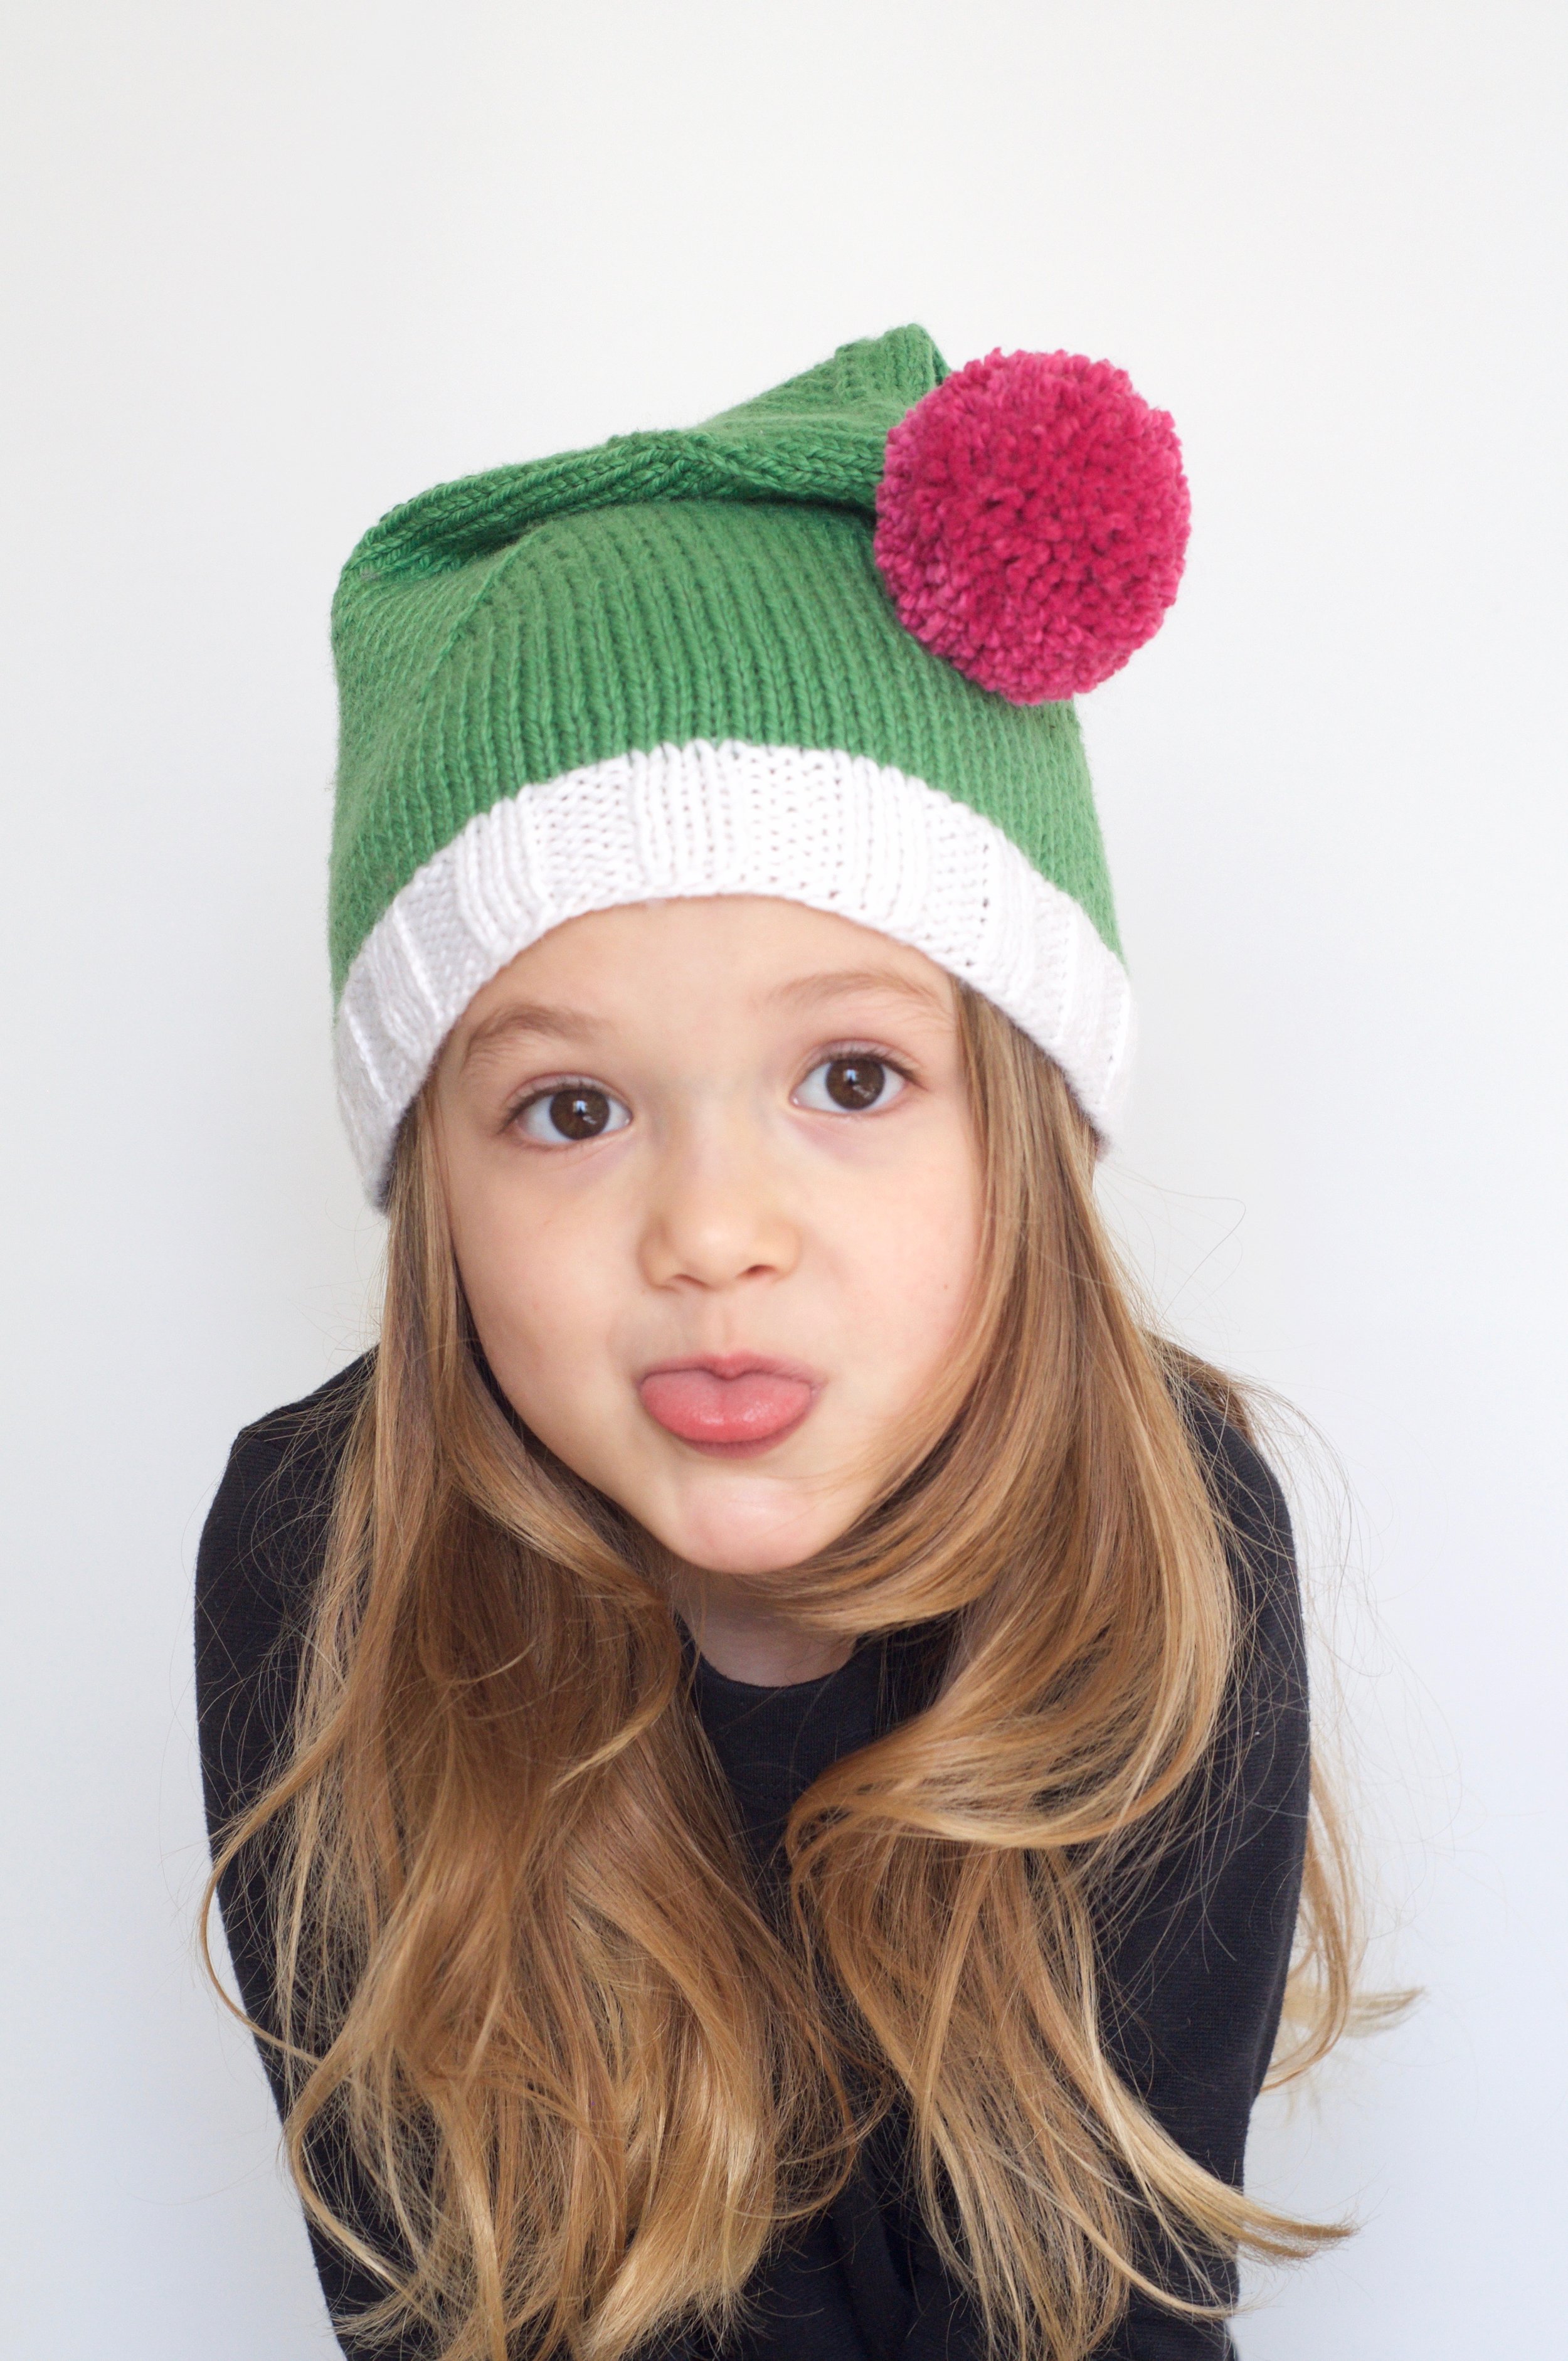
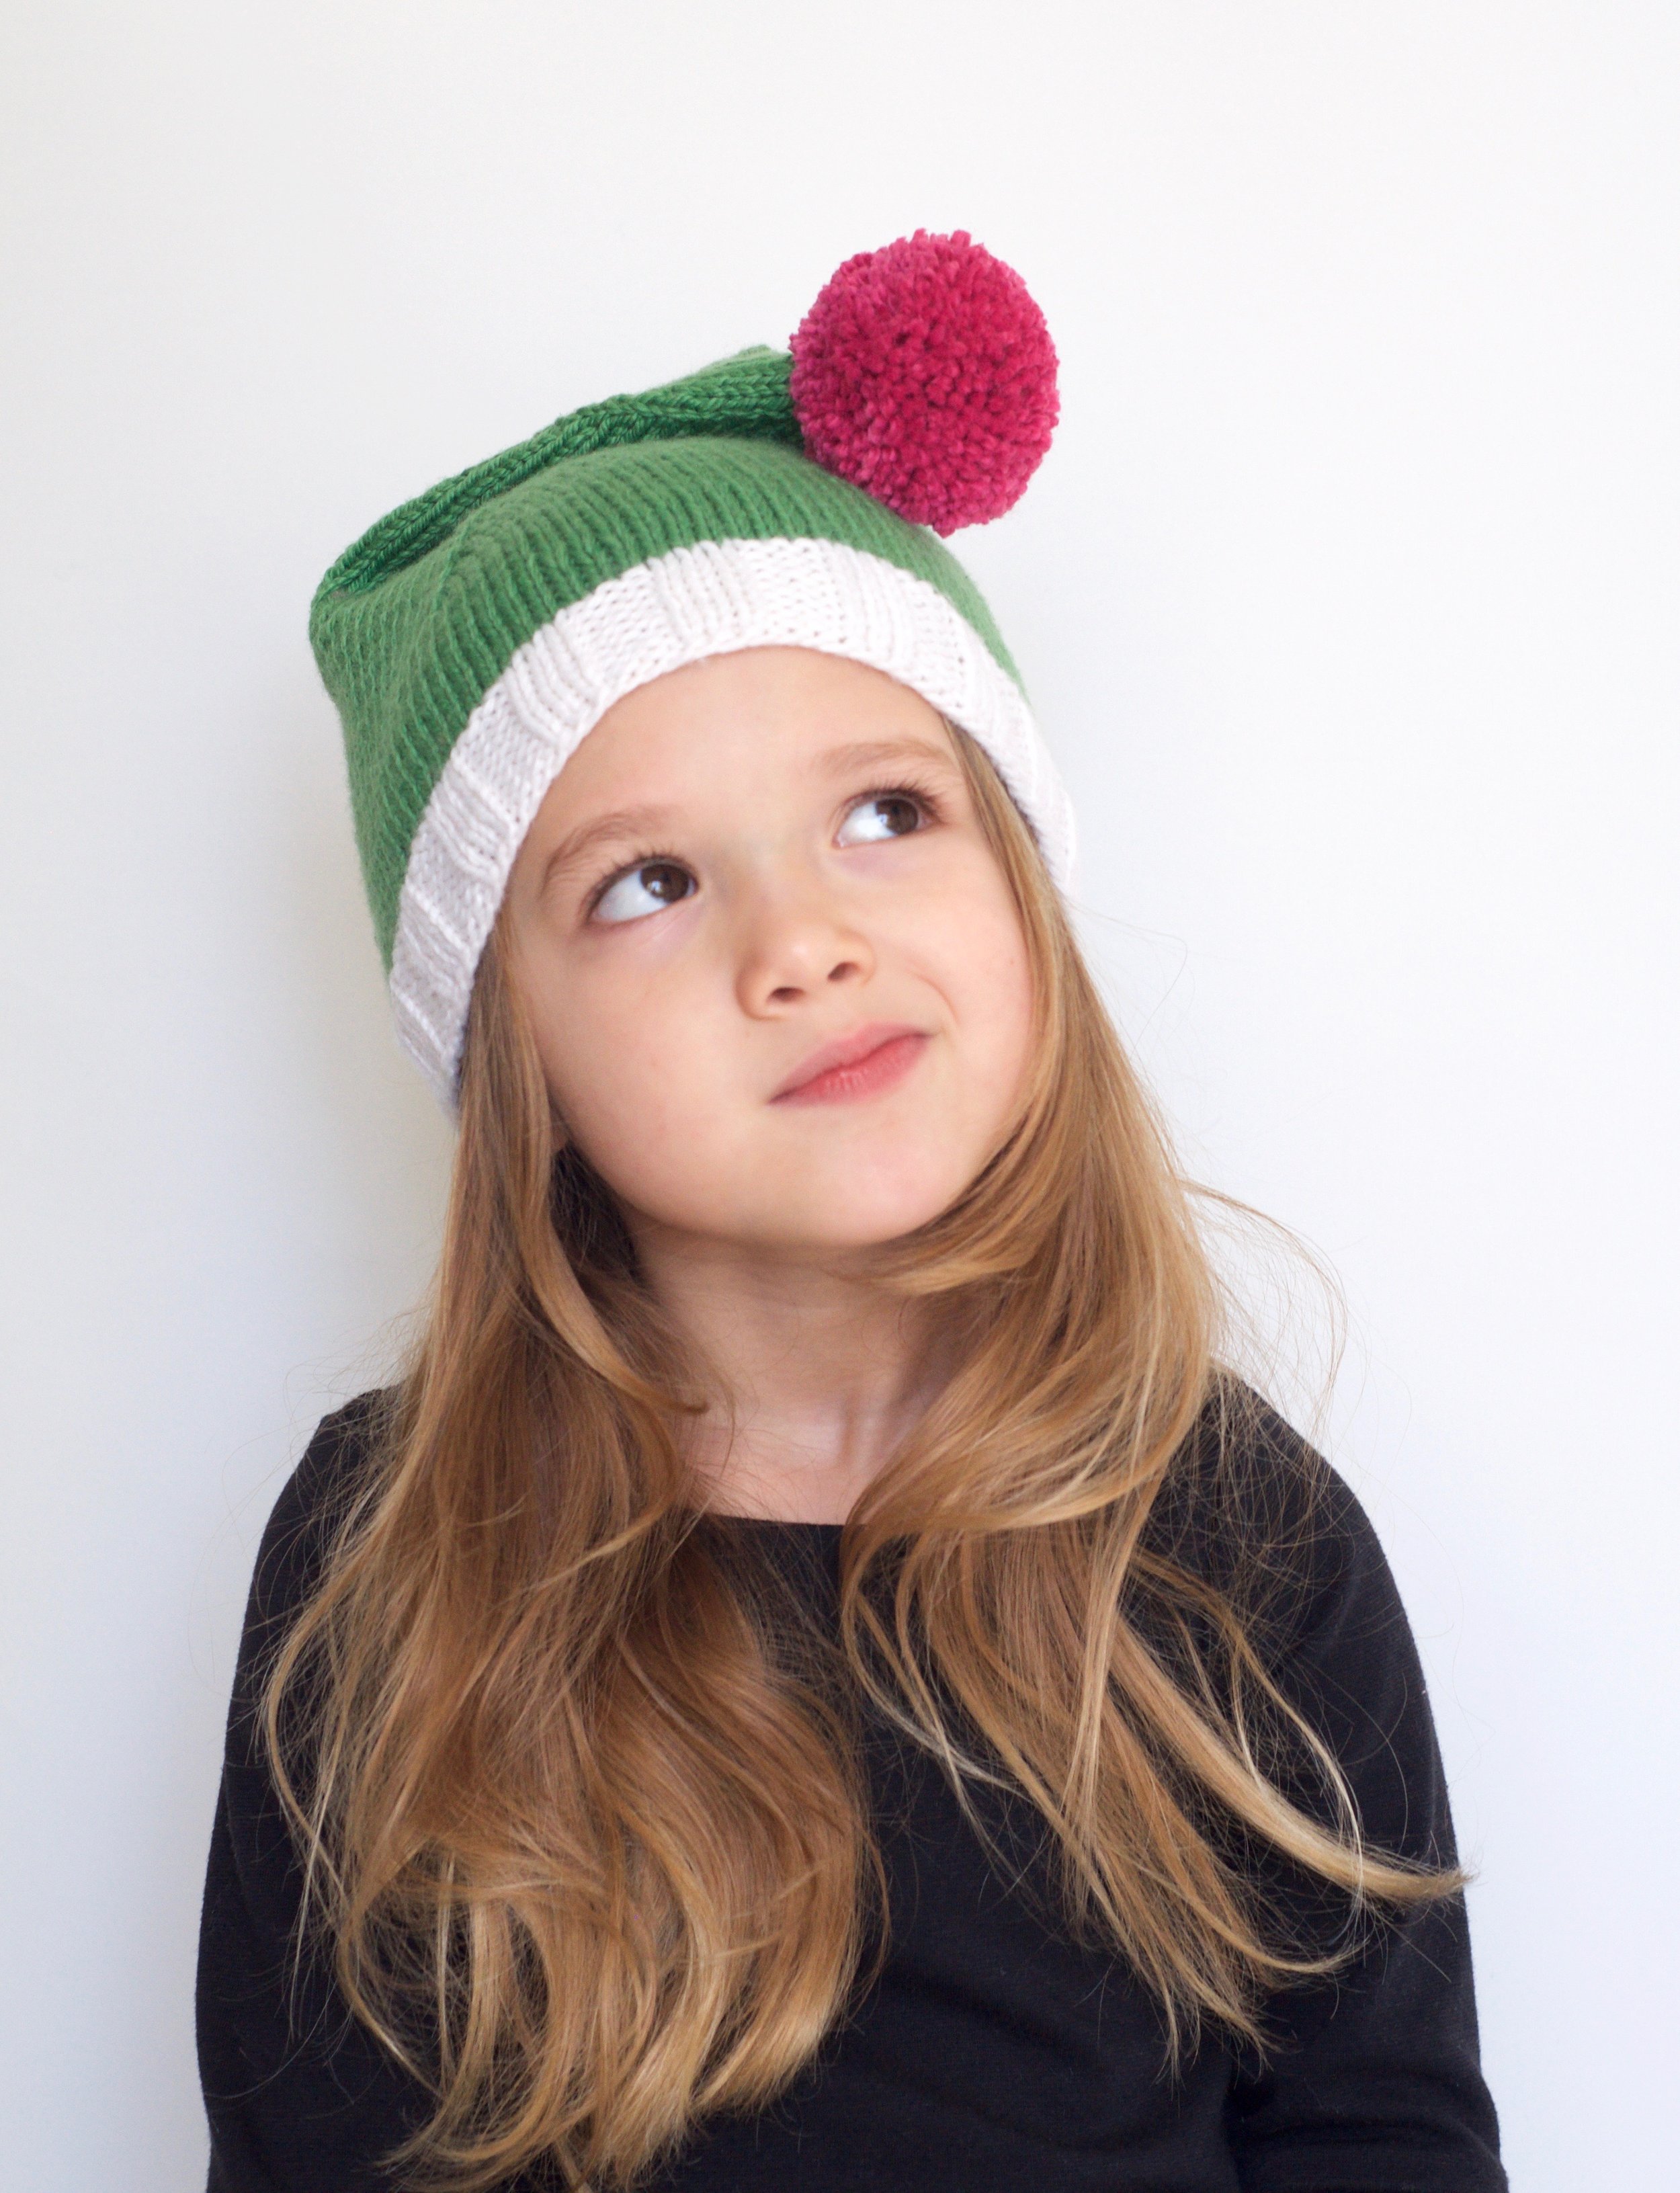
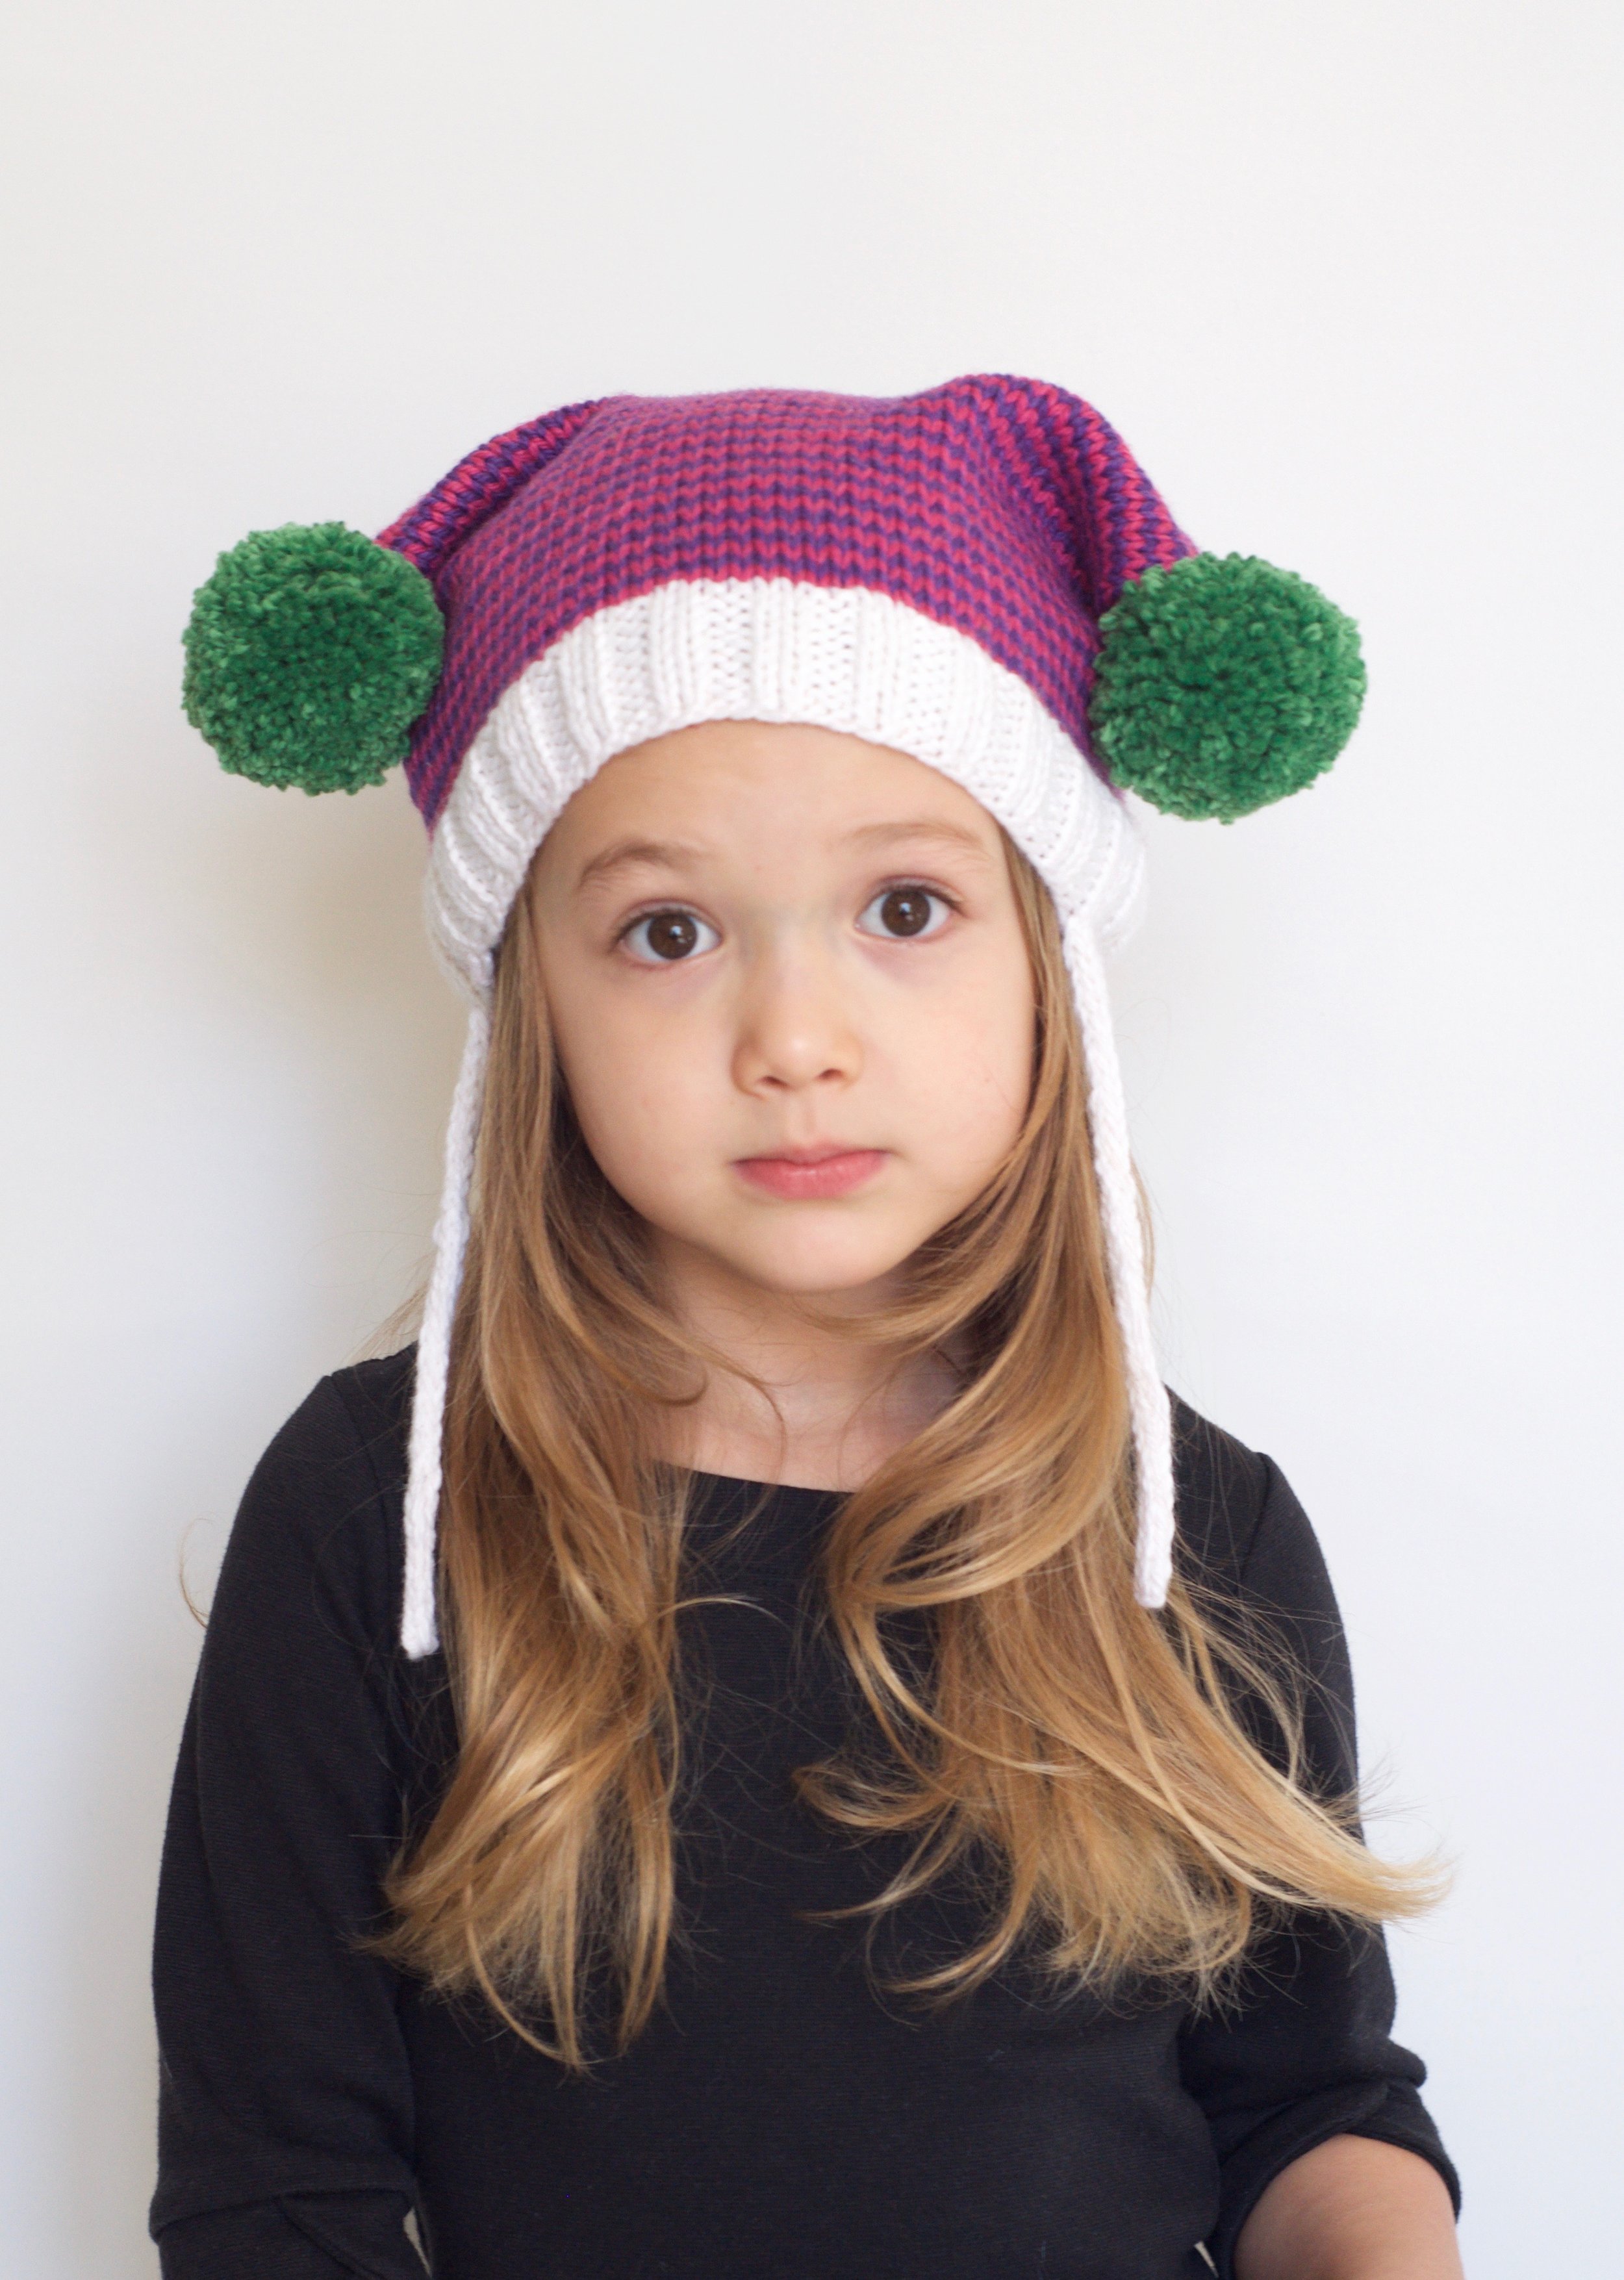
Since this was an update to previously published patterns, I can give you a quick illustration of what I've learned since I resolved to improve my photos. Here is a series of photos from the Urban Ballerina Collection. The BEFORE photos were taken in 2015. The AFTER photos were taken just last month. All of these photos were taken using the same camera and lens.

BEFORE

DSC_0246.jpg

AFTER

BEFORE

DSC_0259.jpg

AFTER

BEFORE

DSC_0279 (1).jpg

AFTER

BEFORE

DSC_0290.jpg

AFTER

Okay, I'm no Jared Flood (we all bow down to the king of knitography), but I think I've learned a lot since I made my photography resolution. Here are my simple tips for getting more comfortable in front of the camera:

1) Have a judgment-free photographer.
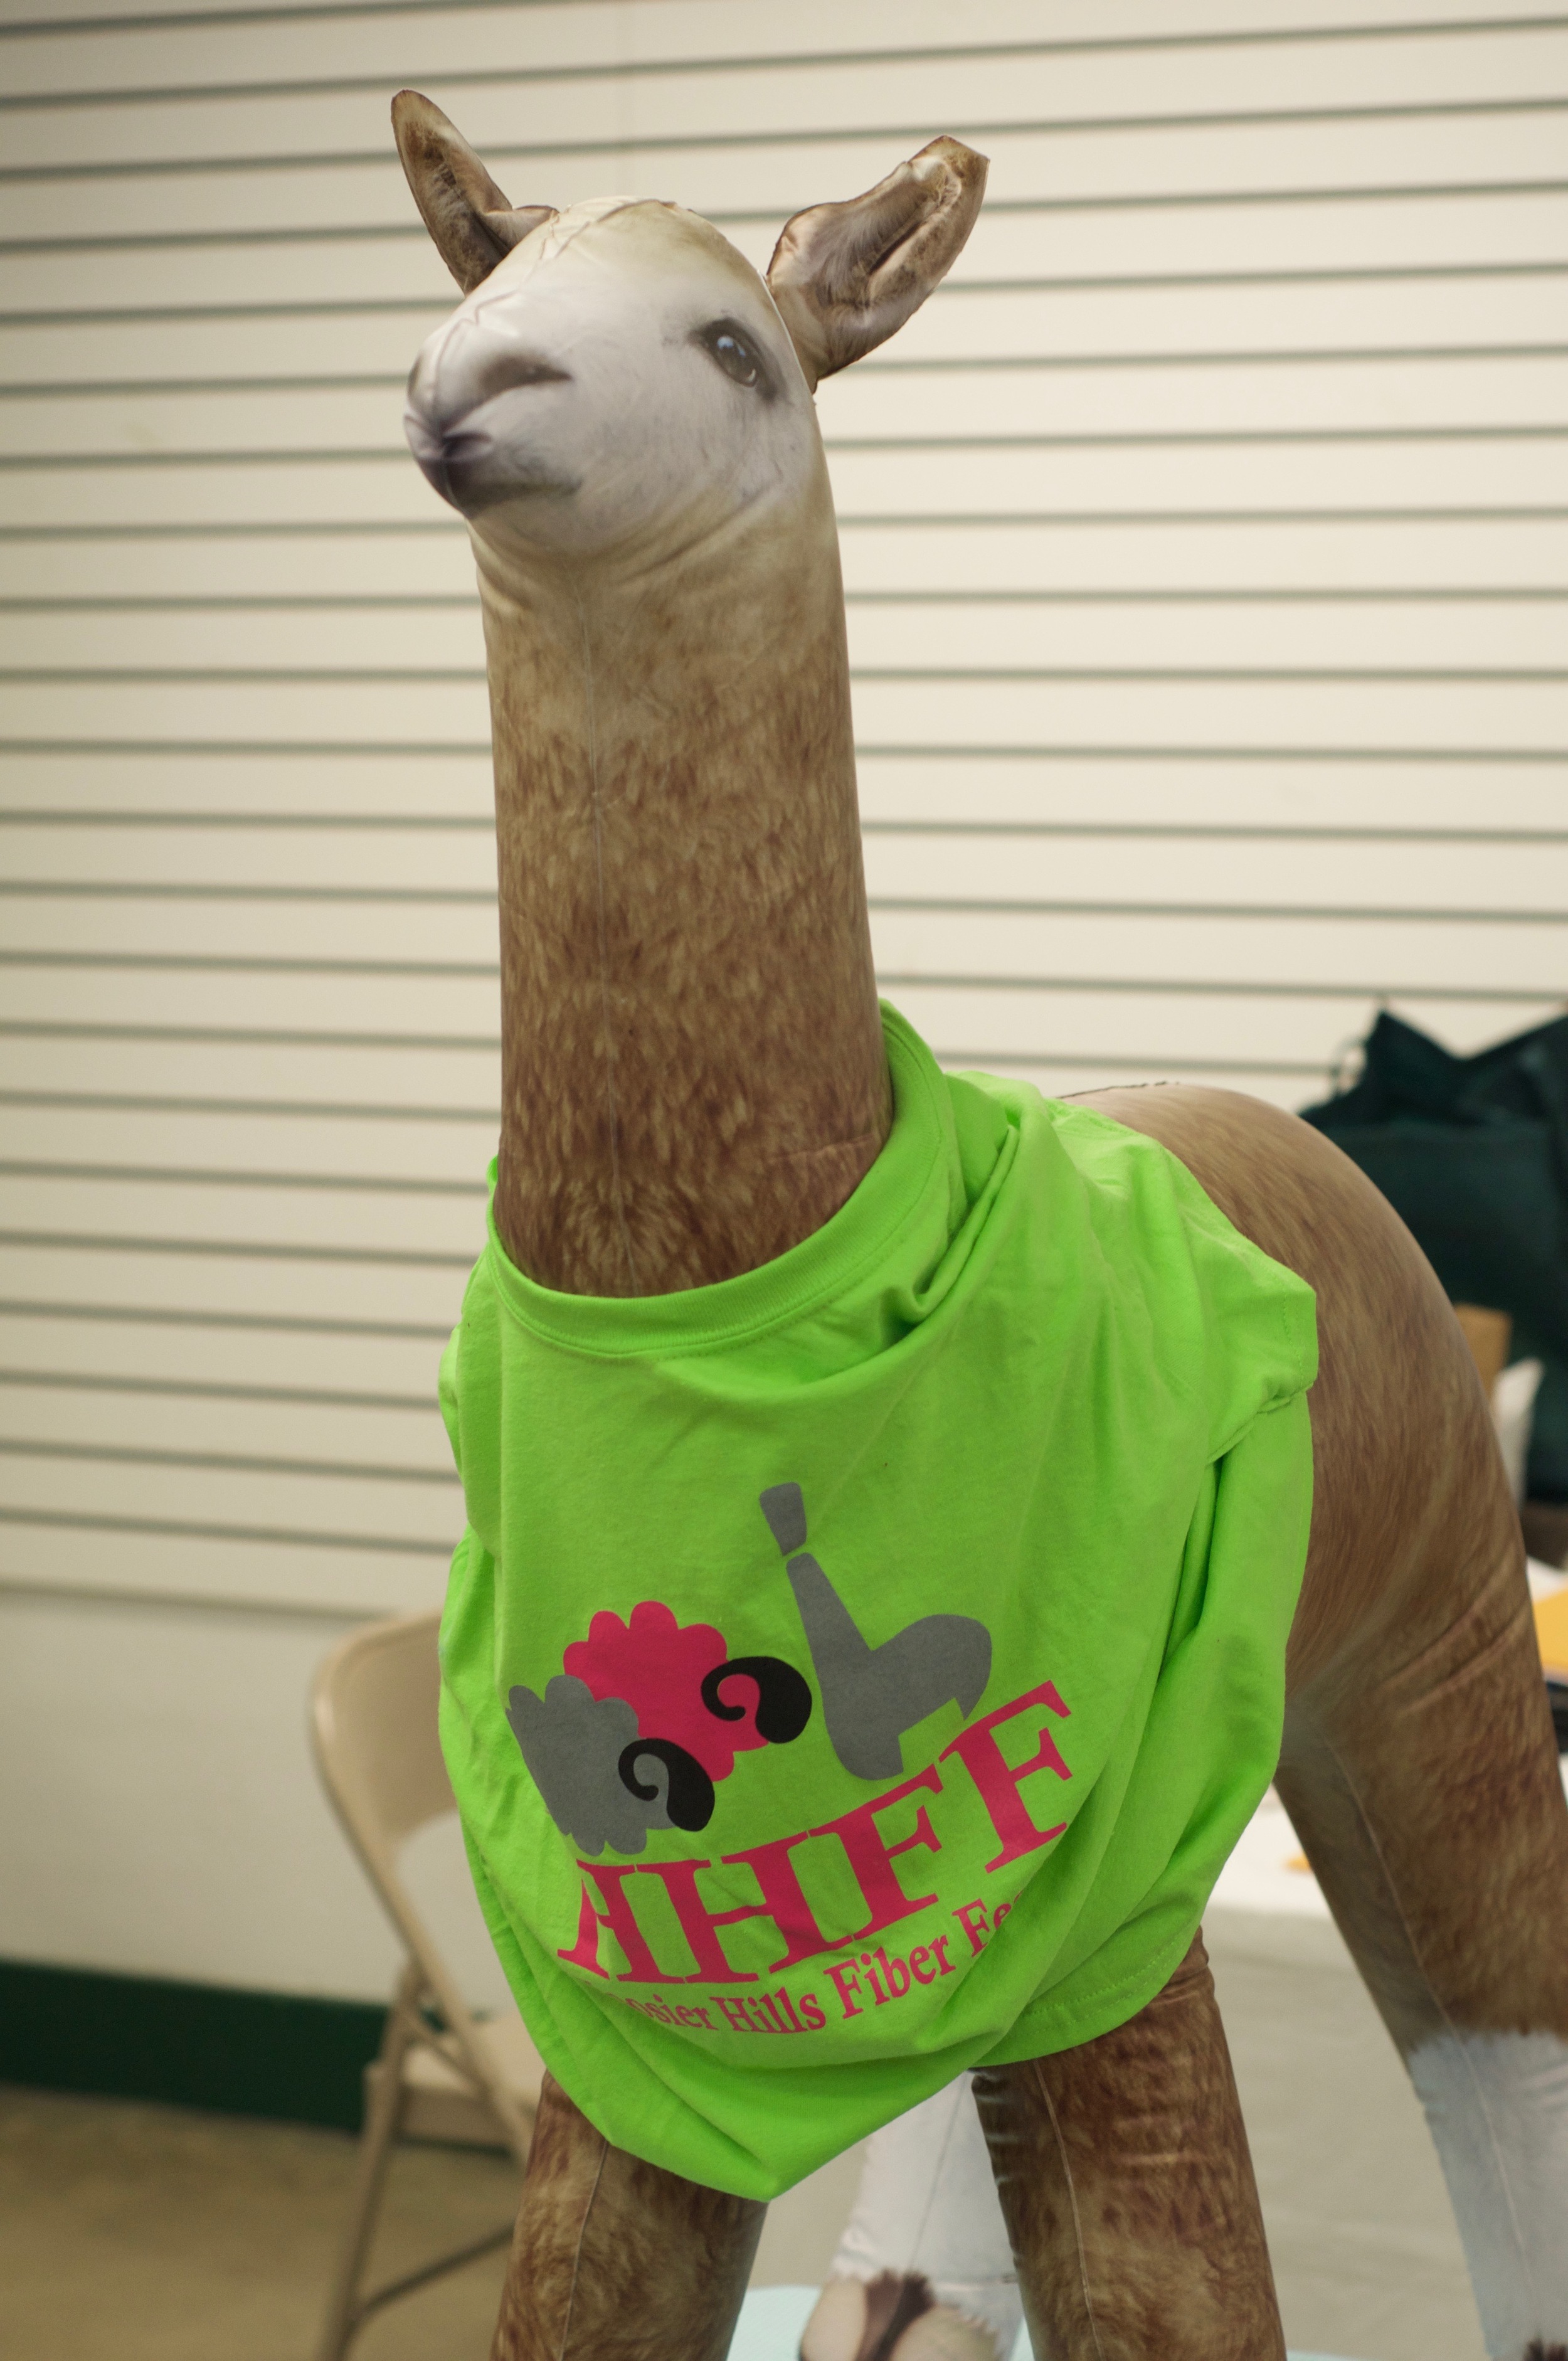
I enlist my husband to take photos of me. His only feedback during photoshoots is that I look "sexy" in every shot. It's not true, btw. I don't know how anyone can look sexy in 5 degree weather whilst modeling mittens in a t-shirt and shivering like a naked eskimo, but my husband ALWAYS tells me I look sexy. That kind of positive reinforcement gives me the confidence to power through photoshoots. If your significant other isn't great with a camera, find a friend who loves you, one of your kiddos who makes you giggle, or get a really awesome camera remote. Remotes don't judge, and neither does this guy:

2) Know what you want BEFORE you get in front of the camera. This can be tricky. I think the easiest way to do this is to practice the poses you want to see in your photos in front of a mirror right before the photoshoot. This gives you a chance to see what looks right AND feel it in your body. It also allows you to fuss over your garment until it is laying just the right way (something that takes me an inordinately LONG time). You WILL feel silly modeling in your mirror. I know I do, but it really helps. I understand if you want to lock the door while you play dress-up in your bathroom. No judgment. Or better yet, bring your 5 year old; she is a PRO at practicing poses in front of the mirror!

3) Warm up.
I start every photoshoot by making a series of ridiculous faces at my husband. I started doing this behind the camera to get my kids to laugh when I was photographing them, but then I realized that I was smiling more because of it. It's so hard for me to smile in front of the camera. SO, I started making crazy faces as a warm up. I look ridiculous. I feel ridiculous. BUT...I'm not as stiff in photos after I laugh and I usually get some fun photos out of it. This ridiculous face is "Hey, GIRL!"

4) Have a theme song.
Music makes me smile, so I regularly have a dance party with my girls right before a photoshoot. For this photoshoot, I rocked out to I'M ALL ABOUT THE BASS by Meghan Trainor. NOTE: Mama's got hips, and she's not afraid to use them.

5) If you don't believe that you look awesome, PRETEND that you look awesome.
Motherhood has taught me the power of pretending. It works for SO MANY THINGS! For example, I used to be SUPER freaked out by bugs, but then I had daughters. I didn't want to pass that irrational fear onto my kids, so I started pretending that I wasn't afraid of bugs. My oldest daughter wants to be a scientist, so she catches EVERY bug she can find (#momkarma). When my daughter catches a grasshopper, I squirm on the inside, but I hold that bug in my hand while she describes its every feature. Honestly, after 30 years of bug-phobia, I'm not scared anymore. I use the same power-pretend for photoshoots. I squirm on the inside, and then pretend I'm Cindy Crawford. No one knows I'm rocking a Cindy-pretend but me (and now...you.)

6) Be prepared for surprises OR buy yourself a wind machine so nothing surprises you.
In absolutely EVERY photoshoot I've done in the last year, something unanticipated happens. Sometimes the back drop falls down for no reason. Sometimes my kids wonder through photos dressed in crazy costumes.

During our last photoshoot, it suddenly got SUPER windy for 10 minutes. These little surprises add some flavor to the photos.

7) Don't be pregnant in your photos if you hate being pregnant.
If you love being pregnant, you should document that craziness. You are a magical unicorn, and there simply aren't enough photos of your rare beauty. If, like me, you felt like a whale without water, then stay far away from the camera. It's expensive, and I don't want you to punch your cameraman, which I very nearly did in this photo.

DSC_0009.jpg

I hope that some of these tricks help you on future photoshoots (Okay, the last one might be a little niche. How many angry pregnant knitters are there at any given time?). Also, please send me your tips! I have only just begun on my knitography adventure, and I have so much to learn!

Keep your eyes peeled for Part 2 of the Knitography Series!

Finding Balance

This time of year, I am always searching for balance. It is well past the time when I can blame the chaos of my daily life on the holidays (although, I do milk it for all it's worth). The cold keeps me inside with the kiddos enough to make us all feel stir crazy. The flu usually hits us right around now (last week, in fact). And on and on...

While most people make resolutions in January, I take stock in February. This is when I start to think most about balance, and so, with that in mind, here is a peek at my latest design: Counterbalance.

DSC_0153.jpg

After I graduated from college, I lived and taught in Asia for several years. There is a beautiful custom in South Korea of stacking rocks for good fortune: outside of Buddhist temples, on the tops of mountains, near schools. Almost anywhere there are stones, there are rock stacks. These towers of stone are a tribute to balance, guided by the human touch. I have always found little (and big) rock stacks enchanting.

DSCN2406.JPG

This pattern was inspired by the simple beauty of those lovely rock towers. These mitts are knit from the bottom up in the round. A single, clean, stacked cable runs along the inner wrist, up the palm, to the base of the thumb. These mitts are not knit identically. Instead, the mitts are mirror images of one another, creating a harmonious pair.

DSC_0004 2.jpg

Although I have assigned the mitts “Left” and “Right,” you will find that they cannot be worn “backwards.” The cable looks just as lovely on the back of the hand as it does on the palm. I recommend that you experiment and play.

DSC_0189.jpg

Choosing yarn for this design was especially fun! Nothing brings me joy like finding the perfect yarn for a design. This design was a collaboration with Autumn and Indigo. Autumn and Indigo has a huge and beautiful palette of yarns. The yarn is squishy and the colors are vibrant. For this project I worked in DK, and I did something that I have never done before. I knit a cabled project in speckles. Speckles would ordinarily obscure the cables, but the light dusting of pink in the "Spirited" colorway paired perfectly with the large stacked cables. And, I will be honest, my camera and I could not get enough of those speckles.

For the fingerless mitt, I used "Flock." Although, I expected this color to be a solid, I was overjoyed to find a wonderful depth of color in this pink yarn. 

DSC_0312.jpg

I hope that you enjoy the pattern. May you avoid the flu, survive your children, knit something warm, and find some balance! Cheers!

Sock Arms!

It is hard to explain how fun my job is. I mom by day and knit by night. I like to think of myself as a wooly superhero. My favorite thing about my job is collaborating with other fiber artists, particularly yarn dyers. Today I have a new pattern out that very clearly demonstrates why my job ROCKS. Meet SOCK ARMS!

This pattern has been an incredible collaboration with one of my favorite yarn dyers: Must Stash Yarn. I got hooked on her yarn during a killer KAL last year that featured Star Wars self-striping yarn. I knit a pair of 3-CPO/R2-D2 socks.

DSC_0005 2.jpg

I had the idea for the Sock Arms sweater jangling around in my head for months before I approached Stacie about it. I couldn't picture the project in anyone else's yarn, but I was nervous she might say no. I can handle no. I'm a mom. No is practically my first name: "No, Mom!" But I didn't want a no from Stacie. I really wanted this sweater to be in her yarn. Can't you see why?

Luckily, Stacie was up for an out-of-the-box sock yarn project! AAND...she had ideas of her own. Now, Stacie says that she was inspired by the incredible scrappy monster sock craze, but I think she had a different inspiration. I think she must have peered into my nerdy sock-loving, comic book-obsessed, yarny soul. She wanted to create a Guardians-of-the-Galaxy-inspired palette, using both GOOD guys and BAD guys. Seriously, this girl gets me. I did a MEGA happy dance, cracked into the yarn (which Stacie sent in a box wrapped up like Christmas), and set to work.

Mind you, I am excited about all of my projects, but sometimes, I get ridiculously excited, with emphasis on the ridiculous. I am a silly person. Goofy to my very core, so I could hardly contain my silliness once the sweaters were finished. I did a few serious photos...

DSC_0025.jpg
DSC_0021.jpg
DSC_0235.jpg
DSC_0271 2.jpg

And then, Telly and I got ridiculous. We rocked our best 80's hairdos.

We put on our favorite Guardians of the Galaxy accessories.

DSC_0082.jpg

We broke out the comic books.

DSC_0008.jpg

We had a Good Guys vs. Bad Guys showdown (Telly is on the side of the angels, btw. Moms are always the bad guys.)

DSC_0154.jpg

And we totally rocked that photoshoot. Awesome-mix-style!

A Valentine from Me to You!

This weekend, I published 2 new pattern on Ravelry: The Heart Head Hat & My Rainbow Heart Fingerless Mitts. We all need a little love and rainbows in our lives. I wrote these patterns to get a little happiness out into the world, one rainbow at a time. These are fun and simple colorwork patterns that are easy to memorize. These patterns was specifically designed to showcase the rainbow in your yarn stash. AAAANNND...Both patterns are on sale until February 15th, so CHECK THEM OUT!

Allow me to introduce...

My Rainbow Heart Fingerless Mitts

Heart Head Hat

Thank you, everyone, for your incredible enthusiasm for these new patterns!

Mrs. Claus Knit-a-Long

In my last post, I told you about the special gift Mrs. Claus sent to my girls last year. I wrote Mrs. Claus a letter and asked her permission to share the hat patterns she uses to make elf hats. She kindly obliged. In the spirit of the holiday season, she and I have decided to offer these two hat patterns for free. She did have one stipulation, however. She wanted the hats to be named after her. And so, I present to you, the Mrs. Claus Hats: Pointy and Boxy.

Mrs. Claus POINTY Hat

(click to download the pattern for free)

Both of these patterns are simple and quick (which makes sense since Mrs. Claus has so many elves to knit for). She explained that she wanted these hats to be "beginner" patterns, so I have included photo tutorials on making i-cords, completing a 3-needle bind off, and making a pom pom with a pom pom maker. Since there are so many presents to be knit in December, I have included sizes Elf (at Mrs. Claus' urging) through Adult Large, which should cover all the noggins in your household.

To celebrate the launch of these patterns, I will be hosting the Mrs. Claus Knit-a-Long on my Ravelry group. beginning November 26, 2016 and ending January 6, 2017. All knitters are welcome to join! For the busy knitters who knit all those Christmas gifts, there will be PRIZES!

Prize One: 3 Skeins of Blue Sky Fibers "Sweater" Yarn

Prize Two: A Two-fer Project Bag from Erin Lane Bags

Prize Three: A Two-fer Project Bag from Erin Lane Bags

Prize Four: A Digital Copy of "Child For All Seasons YEAR 2"

I hope you will join me for some holiday hat knitting! In the meantime, Mrs. Claus and I wish you A VERY MERRY CHRISTMAS!

Our Mrs. Claus Hat Tradition

Christmas is just around the corner. At our house, we just love Christmas. Family. Cookies. Reindeer. Christmas trees. And Santa, of course. Santa is great. We love you, Santa. But, my family has a soft spot for Mrs. Claus. In fact, due to a chance knitting encounter (I'll save this story for another day), I'm actually pretty tight with Mrs. Claus.

I don't think Mrs. Claus gets enough credit. Clearly, she has a lot on her plate with all those elves running around and toys EVERYWHERE. Her house is definitely bigger than mine and I spend ALL DAY, EVERYDAY picking up toys. Plus, I know Mrs. Claus is a mad knitter. Every time I see an elf, he's rocking some killer knitted something. How does Mrs. Claus find the time?

Last year, Mrs. Claus went above and beyond. She was worried that the kids might not have prepared properly for Santa's arrival. Dea was just 3 months old and Telly was three, so I can understand her concern; they aren't the best planners. Plus, I guess Santa is getting picky in his old age.

About a week before Christmas, Mrs. Claus sent an elf to hang a hat on each of the girls' doors while they were sleeping. 

Each hat was stuffed with all the things my girls would need to get ready for the big day.

First, she included a letter. Mrs. Claus is an excellent letter writer and I'm pleased that she hasn't switched over to email. If you would like to read her letter, just click on link below (I typed it up, so you can see it):

A LETTER FROM MRS. CLAUS

Next, Mrs. Claus gave us a bag of reindeer food to throw on the roof on Christmas Eve. I was surprised to see that reindeer food includes fairy dust. I've always been under the impression that reindeer are born with a natural ability to fly. Go figure.

She also included chocolate coins for tipping the elves. Evidently, the elves are more generous with stocking stuffers if you leave them a tip.

Mrs. Claus put a small bag of candy cane seeds in the hat. I have the worst luck with house plants, so I was a little overwhelmed by this addition. Luckily, Telly and I were able to find some great tips for growing candy canes online. It was a dirty business, and Telly certainly overwatered them, but before long, we were growing our first candy canes. We harvested, cleaned our candy cane plants, and promptly ate them.

The next thing we found in the hats were bells. This was definitely the most practical gift Mrs. Claus included. Apparently, these bells came from the reindeers' harnesses. Mrs. Claus instructed Telly to ring her bell on Christmas morning BEFORE coming downstairs. Telly loved this plan, and practiced ringing her bell constantly. She kept it at the foot of her bed on Christmas Eve and rang it dutifully on Christmas morning.

There was also a lovely cookie recipe in the hat. The cookies were quite delicious (I can see why Santa prefers them), and we were required to make a second batch after inviting our family to share. We ate them all before I could take a picture.

My favorite goodie in the hat was a wishing stone in a tiny velvet bag. This little piece of snowflake obsidian came straight from the North Pole and Telly got A LOT of use out of it before and after Christmas. To use the stone, Telly needed to hold it an both hands and make a wish. Any wish she made for herself required a second wish for someone else.

Finally, there were the hats, which Mrs. Claus knit herself. These are retired elf hats, and thus, contain a good deal of magic. Did you know that elves lose most of their magic through their heads? It was news to me. Telly's hat came from Norbert elf and Dea's hat came from Nelly elf.

I don't think Mrs. Claus intended for Telly to wear the hat (seeing as it is elf-sized), but Telly insisted.

Telly and I were thrilled to find that Dea was exactly elf-sized.

Mrs. Claus has directed us to hang the empty hats on the girls' doorknobs one week before Christmas this year. Apparently, she is sending more supplies AND a special handmade gift. Mrs. Claus must really love us. We are so very lucky to have each other!

If you would like to make your own Mrs. Claus Hats, the patterns are now available for free on Ravelry. Check out the Mrs. Claus Pointy Hat & the Mrs. Claus Boxy Hat.

Tips on Creating a FibreShare Package

I am always looking for fun things to do on the internet and last year I discovered FibreShare. FibreShare is a fiber swap that focuses on connecting fibre lovers from around the world (for more information about how this swap works, check HERE). I have participated in this particular swap three times and am ready for a fourth round. The Fibreshare organizers make their swap super fun by posting beautiful photos, hosting wonderful fiber artists, and even providing discounts to members (I'm a real sucker for a promo code). The first time you swap through Instagram, it can be a bit overwhelming. I've put together some photos and tips from my last Fibreshare package. I hope these help you get started with your own share package!

Pick a theme and color scheme. This may sound silly, but there are SO MANY fun things that can go into a package. It can be overwhelming. Decide on a simple theme that is meaningful to you. Your fiber buddy is going to get to know you through this process, so give your best self. I decided to make a sustainable package. I wanted a gift that showed my love of fiber while remaining respectful of the environment. For my color scheme, I stuck to neutrals with subtle pops of purple and maroon.

Think about the wrapping. I think the best thing about a gift is the feeling you have right before you open it. If you want to build the anticipation, choose your wrapping carefully. Try to use wrapping that hints at what is INSIDE the package. Since my package was all about sustainable goodies, I used kitchen towels for wrapping and upcycled cotton ribbon. They matched my color theme and don't need to be thrown away. 

Pick fiber that means something to you. While I was scoping out the Hoosier Hills Fiber Festival, I found a small Illinois mill that produces yarn from Jacob sheep and alpacas called the Round Barn Fiber Mill. This mill is passionate about their yarn and process. They label most of the skeins by the name of the sheep that made the wool. They let me hug everything and told me stories about raising their flock. That's special. Not everyone is going to get excited about small batch yarn. Like those Jacob sheep, we yarnies are a rare breed. That's the great thing about FibreShare, you're not just giving away yarn. You are sharing a passion.

Do something personal. We are all makers, so get creative! I love it when people make things for me. I think that's why I'm constantly making things for other people. If you want to spoil your buddy, make something, anything. I decided to sew a small, two-sided wristlet-style project bag. I'm not the world's best seamstress, but I do love to sew. I chose fabric from my sewing stash and stuck to my color scheme. 

Include something local. Your fiber friend is probably not from your town (maybe not even from your continent). Send something that your buddy won't be able to get anywhere else. I chose to send coffee beans from my local beanery: Hopscotch Coffee. It just so happens that Hopscotch makes a mama-friendly half-caf. My fiber buddy was a coffee-loving new mama. I support a new mother's right to a bit of caffeine. So does Hopscotch. 

Include some extra info about your gift. Your fiber buddy might want to know more about the goodies you packed up, so add some info. It's always nice to add a note as well!

Watch your partners IG feed, read your partner details and gift accordingly. This is a BIGGIE! FibreShare is an Instagram swap for good reason. You can learn a lot about your partner through IG. My partner was a spinner AND knitter. In her questionaire, she stated that her most prized fiber possession is a skein of handspun yarn given to her by a friend. Her IG feed was full of beautiful handspun knits. I decided to include some near-and-dear-to-me fiber from my own stash. These are from a farm outside my hometown in Southern MO.

Include a crowd pleaser. I like to put in some yarn that just about anyone would love. Soft and squishy Malabrigo...you bet!

Add some LITTLE goodies. I like to think of these as stocking stuffers. A few little extras to fatten up the package. I included stitch markers and handmade wooden bobbins from Sistermaide.

Gather everything together. Admire your work!

Wrap everything with care.

Send your package out into the world.

Congratulations. You just shared.

12 Reasons to be a Sock Knitter

Yarn: Hedgehog Fibres Twist Sock "Flashdance" and Skein Yarn for toes and heels

Yarn: Hedgehog Fibres Twist Sock "Flashdance" and Skein Yarn for toes and heels

At the beginning of this year, I was introduced to the wonderful world of sock knitting. It's crazy that I lived outside of this world for so long. I feel a bit like a muggle who just found out that there is a magical place called Hogwarts. I have been a knitter for just over a decade. I have knit countless sweaters and shawls and blankets and mittens. You name it, I've probably knit it. I even knit my nephew a vegetable-mobile to hang over his crib when he was a wee tater-tot. But, until recently, I had only knit one sad, ill-fitting, ugly pair of ankle socks. Sorry, husband, you don't have to wear them.

Luckily, I have a Lisa in my life and Lisa is a serious sock knitter. If sock knitting is my Hogwarts, then Lisa is my Dumbledore. She has taught me much and now I want to share a little of what I've learned. Technical sock-y things? Nope. The good stuff. The fluffy stuff.

If you are considering sock knitting, I HIGHLY recommend it. If you already knit socks and are looking for a way to justify your obsession to other people, I can help with that, too. I present to you...

12 Reasons to be a SOCK KNITTER:

12. Tons of BEAUTIFUL yarn! 
There are so many amazing sock yarns out there. Indie dyed, self-striping, speckles and squishy stuff with yak in it. You get so much yardage and it's all incredibly soft and durable. I'll admit, I've been buying and hoarding sock yarn since well before I started sock knitting. I knew it would pay off someday.

Yarn: YarnYarnCo

11. Portable projects
As in, "Hey, adorable, tiny knitting bag, you can carry my knitting project and tools whilst fitting snuggly in my purse. Good job, you!"

Yarn: Spun Right Round "Chimera" & Desert Vista Dyeworks mini skeins

Yarn: Spun Right Round "Chimera" & Desert Vista Dyeworks mini skeins

10. Color Exploration
You can knit with all those crazy yarns that you've been hoarding and had no idea what to do with. I can even knit things that are ORANGE (I look terrible in orange, but my feet look awesome in it).

Yarn: Druzy Rising "Bloom"

Yarn: Druzy Rising "Bloom"

9. Sock blanks
I repeat: Sock. Blanks. I feel like sock blanks are the equivalent of a great mystery novel. You get all the characters when you open it up (blue, yellow, pink, Sherlock, Watson), but you don't really know what's going to happen. You keep guessing how it will all work out, but somehow, in the end, you're always surprised. I think I need an entire blog to talk about the amazing-ness of sock blanks.

Yarn: Spun Right Round "Chimera"

Yarn: Spun Right Round "Chimera"

8. Self-Striping yarn
I know I already said yarn, but self-striping yarn needs special attention. It's tricky to use for almost every other project, but it is AWESOME for sock knitting.

Yarn: Must Stash Yarn "C-3PO" & "R2-D2"

Yarn: Must Stash Yarn "C-3PO" & "R2-D2"

7. Tiny needles
This might not seem like a good thing to some people, but I love them. I'm a tight knitter, so I almost never get to use those super sharp, eensy-weensy needles in my collection. Now, I do it all the time.

Yarn: Desert Vista Dyeworks "Carlos"

Yarn: Desert Vista Dyeworks "Carlos"

6. Cute accessories
I'm a sucker for fun notions and bags. Since I started sock knitting, I have collected quite a few double pointed needle cozies, which are perfect for sock projects (and sweater sleeves, incidentally). This one is a prototype cozy from The Nome Knitter. I like to admire my knitting even when I'm not knitting.

Yarn: Skein Yarn "Wasabi"

Yarn: Skein Yarn "Wasabi"

5. Scrappy projects
You can make the cutest projects with sock yarn leftovers! I have been working on a mini-sock advent calendar.

Yarn: Must Stash Yarn "R2-D2" & "C-3PO"

Yarn: Must Stash Yarn "R2-D2" & "C-3PO"

4. You can knit AT THE GYM!
Everyone looks at me funny, but sock projects are perfect for the seated bike. Be warned, this does leave you open to slightly bizarre pick up lines. I am regularly hit on by little old men asking, "Hey, honey, whatcha knittin'."

Yarn: Desert Vista Dyeworks "Parrot Head"

Yarn: Desert Vista Dyeworks "Parrot Head"

3. Cool new friends
I meet the best people because of sock knitting. When my sock yarn scraps started piling up, I reached out to the Ravelry sock knitters and found a yarn pen pal. For several months, we exchanged our leftover sock yarn. My yarn buddy even sent cute buttons!

2. Knit-a-longs!
I know there are a lot of great KALs out there for non-sock things, but if you like KALs, socks are where it's at! I can fit in a sock KAL between my other knitting projects with relative ease (she says with a bit too much confidence). Plus, sock KALs always seem to have excellent prizes. Right now, I'm knitting the Tootsie Roll Socks by Lisa Ross. Lisa writes FANTASTIC patterns (she's my sock guru), and her Tootsie Roll KAL runs until the end of August. Since I'm knitting these lovelies out of Desert Vista Dyeworks yarn, they also qualify for the Second Annual Desert Vista Dyeworks Sock Club KAL (which also warrants an entire blog.) Expect to see more photos of these cuties soon.

Yarn: Desert Vista Dyeworks "If They Kill Michonne"

Yarn: Desert Vista Dyeworks "If They Kill Michonne"

1. People will like you more
EVERYONE loves hand knit socks. Seriously. EVERYONE. My mom, my husband, my daughter. They all love hand knit socks. I started carrying around a pair of mommy-made socks in my purse. When my 3-year-old feels sad, we put on these socks. They make her happy. Me, too, as a matter of fact.

Yarn: Desert Vista Dyeworks "Zombody Loves Ewe"

Yarn: Desert Vista Dyeworks "Zombody Loves Ewe"

Tour de Fleece

I have a confession to make, and it's a whopper. A few years ago (three years to be exact), I dropped A LOT of money on spinning equipment. A LOT. It was no secret, really. My husband accompanied me to Hillcreek Fiber Studio to buy my first spinning wheel (an Ashford Traditional). He kept his mouth shut when I picked out bobbins, a lazy kate, spinning books, and a hand turned niddy noddy. My family knew about my new spinning equipment. My mother-in-law even came out to admire my new girl, strapped snuggly in the back seat of the Prius, ready for the journey home. I signed up for a fiber of the month club and bought more fiber from my LYS. I was ready to spin.

And then I did something ugly. I quietly organized my spinning stuff, admired my wheel, hugged my growing collection of roving, then put everything in the closet. I was too busy. I was designing patterns AND working on my website AND chasing my toddler AND making a new baby AND AND AND... I always had excuses. Good ones, too, I thought. All the while, I was dreaming about handspun yarn but not giving my wheel nearly the attention she deserved. She came out of the closet occasionally, but not enough. My drop spindle was still getting action, but my wheel needed more love. A LOT MORE.

This year, while digging through my stash, I made a resolution. No more excuses. I WILL SPIN YARN ON MY WHEEL! And what better time to brush up on your spinning skills than Tour de Fleece?

If you do things with wool, you've probably heard of Tour de Fleece. It is a spectacularly fun online event that challenges spinners from all over the world to spin every day that the Tour de France rides. This year that means you spin every day from July 2 to July 24, with a few rest days along the way. The spin-along has a very simple concept:

Challenge yourself.
Spin.
Have fun.

Spinners join teams, post progress photos, chat about fiber/yarn, compete for prizes, and spin, spin, spin. It was the perfect opportunity to open my spinning closet and dust off my investment.

I joined two wildcard teams. First, I chose Owl Cat Designs TDF because I love her designs, and she offered an extra event. As a Grand Prix challenge, participants must knit one Owl Cat design from yarn spun during TDF. For my Grand Prix challenge, I've chosen to knit the 2-Hour Mitts.

My second team (it's totally kosher to join more than one team...I checked) is Southern Cross Fibre TDF. I had one BIG reason for joining this team. My stash. I have a KILLER stash of Southern Cross Fibre from that long-ago fiber club experiment. The fiber is beautiful and I wanted to spin it. 

On July 1, I set up my spinning spot, dug through my beautiful stash, watched a few Youtube videos, and fell asleep reading The Ashford Book of Handspinning. I was nervous. This might sound silly, but I was seriously stressed about screwing up my lovely bags of fiber. What if I mangled them? Or worse, what if I could spin beautiful yarn, but I hated spinning?

Turns out, there was no reason to worry. I woke up the next morning at 4:30AM. (my baby is an early bird) and started spinning. I snapped some pictures, looked at the forums for my team (turns out, not that many people spin before 6AM), discovered the "handspun project" section of Ravelry (was that ALWAYS there?), and planned the rest of my day around spinning. Sorry, baby Dea, Mommy needs some wheel time.

In the eight days since Tour de Fleece began, I've been spinning every available moment. This is what I've accomplished so far:

This is my very first finished skein of handspun completed on my wheel! Until now, I've spun a few ugly singles, but this is the real deal. Wonky, sure. Yarn, yes! This is 126 yards of 100% Polwarth wool. It is a 2-ply called "Beyond Time" from Southern Cross Fibre. I'm pretty darned proud of it.

My next skein (oh, yes, there is more) is a sport weight beauty. 240 yards of 2-ply SW Merino called "Elixir" also from Southern Cross Fibre. 

Right now I'm working on another 2-ply yarn. This is a Blue Faced Leicester called "Marine Predator," obviously from Southern Cross Fibre. I'm especially jazzed about this yarn. I filled three extra twisty bobbins and plyed them up. This one is ready for a bath and skeining!

So far, Tour de Fleece has been exhilarating! Goodbye, guilt about expensive spinning equipment. Hello, beautiful yarn and fun spinning friends! Another unexpected bonus? There is more than one spinner living in my house!

Hoosier Hills Fiber Festival

Yesterday was an awfully good day. My hubs volunteered to watch the kiddos and I hopped in the car to check out the Hoosier Hills Fiber Festival. This was my first time attending this festival, so I didn't know what to expect. Boy, oh, boy, did I have fun!

This is a little festival with workshops, music, food and lots of friendly, furry strangers (even a bitsy, baby alpaca who, I could tell, desperately wanted to come home with me and have a snuggle).

Since my schedule is dictated by my own baby animals, I didn't get a chance to attend a workshop this year, but I plan to hit up a couple next year. I'll admit, I mainly went to shop. There were two vendor buildings and they were was packed with fiber talent. There were so many things to see (and buy). Here are just a few of my favorite booths:

I met Stephanie of Lunabud Knits. She looks like she's waving, but she's actually shooing away all the customers trying to buy that gorgeous shawl hanging behind her.

I met Meg, the owner and master yarn dyer of Twisted Fiber Art (check out her sweet dye-lady tattoo). I spent A LONG time chatting with Meg and Beth and squeezing all the yarn in their booth. Meg's yarns are color gradients that come in the most dazzling rainbows. It's incredible just how many colors were on the shelves. When I left, they probably had to wipe drool off of quite a few skeins. I also went a little camera crazy in that booth. Yarn pictures, pictures, pictures...

I chatted with Helena of Oink Pigments. She's new to the Midwest, and I'm pretty excited that she brought her yarnie self to Indiana. She dyes yarn, silk scarves and roving and, damn, her colors are vibrant! She just moved to farm country from California, so I'm going to try and get this gal to the Indy meadery this summer. Knitting and beverage: the makings of a proper Midwestern welcome.

I met up with Brenda & Heather of BaH Yarns. They have some SERIOUSLY beautiful self-striping yarns. Besides having great colors, they do something that I think is extremely thoughtful. If you look closely, you can see that they put photos with each yarn to show you how the stripes will knit up. I knit a lot of self-striping socks and I cannot express to you how incredibly useful this is! Plus, they are awesome.

The Haul

I did my best to show restraint while shopping and, considering how much I WANTED to buy, I think I did admirably. Here's my fiber festival haul:

One of the absolute BEST things about going to these little festivals is meeting the farmers and mill owners. I did some damage in the Round Barn Fiber Mill booth. This is a small mill in Durand, Illinois that was selling yarn and fiber by the ounce. Each skein listed the fiber content and most said the name of the sheep that provided the wool (my favorite was Dazzle). I cleaned out their 'odd-skein' basket and Margie was kind enough to dig out some more when I mentioned needing enough yardage for a sweater. I'm on the look out for a fleece to send their way.

I bought a skein of Arial "Newton." I only made it 6 hours before casting on a new project with this little beauty. The only reason I waited so long was because I had to do grown up things when I got home.

I bought the cutest wooden bobbins from Sistermaide. By the time I got home, I was already regretting not buying more of these. You can even use them to measure gauge (those sides are exactly 1-inch from nub to nub).

Finally, I got a skein of Oink Pigment's sock yarn in "Sunset Fiesta." I'm pretty excited about this yarn and not just because the colors scream: "Let's Party!" This is an 8-ply sock yarn. It's 90% superwash merino and 10% nylon, but it has a lovely sheen that makes it look almost like cotton. I can't wait to see how it knits up!

I had such a good time and I even beat the rain. Hoosier Hills Fiber Festival, I'll see you again next year! Until then, yarn diet (?).